
We’ve officially broken ground on our new home build in NW Montana. As many of you know, once the house is complete, we will sell our South Florida home and move to Montana. This day has been seven years in the making for us. We’ve done a lot of planning and preparing both emotionally and financially for this new adventure. In today’s post, I’ll share our home design, build progress, including the site and build plans, initial excavation results, and pictures of the build so far.
Home Design
We started this process by reading everything we could find about designing and building a home. My hubby, Jim and I were willing to put in the time and work, plus we make a great team. We talked a lot about the style, size, features, and top priorities. We didn’t always agree, but we listened and compromised. This journey has brought us closer and made us stronger. We are living a dream come true and are both beyond grateful.
Jim and I worked together, but each took on different tasks. He read everything he could find about home construction, which is the perfect role for him. As an Aerospace Engineer, he easily understands proper build concepts. Construction is no joke, so I’m thrilled to have Jim handle this part of the job. Plus, we can count on our Design & Build firm, J Martin Builders to make sure our plan is safe and well-built.
I took an “official” online Interior Design class, so I would have the knowledge and skillset to create both functional and beautiful spaces. It took about a year and cost $800. That money was well spent when we completely renovated our current beachside townhouse in South Florida. The Interior Design training was invaluable for completing that renovation, as well as designing our new home.
In addition, I poured over architectural and design books that offered real world elements for our new home. I also gathered and shared thousands of inspiration pictures with Jim, which helped me create an interior and exterior design that is perfect for us. I still need to tweak some of the furniture pieces, including swapping out some of the leggy ones for pieces that weigh more visually. Not only do I have the training, but I also have a keen eye for detail and a talent for making things look beautiful.
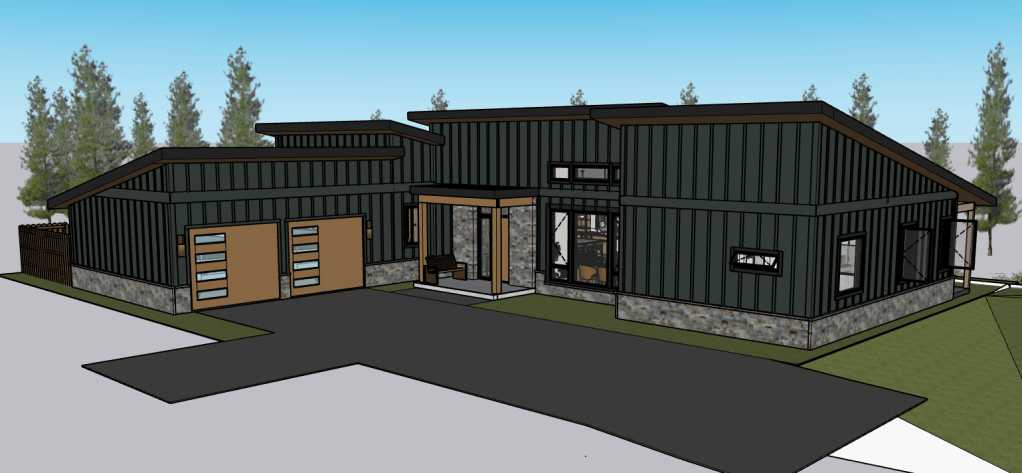
Jim used SketchUp to “build” the house starting with the foundation, walls, roof, and everything but the “pretty” stuff using SketchUp. Throughout this entire process, we discussed the design, including plenty of changes along the way. For example, we used SketchUp to create four different floorplans, including 3d Renderings. Our final design is the right size, just our style and has lots of big windows. It’s a little Jewel Box. Perfectly placed and when opened, it offers stunning Swan Range Mountain views.
Be sure to follow and subscribe Interior Designers you find appealing. Hey, don’t forget to subscribe and follow me too! You can find me on Instagram at @majesticmeadowsmt. You can also subscribe at the bottom of this article. Drop me a note in the comments below, if you’d like a list of my favorite designers.
Check out the online sites below for your own inspiration pictures:
- Houzz
- Internet Search using “Interior Design” with your search focus, i.e., “Interior Design” Kitchen, Bathroom, etc.

Click on the link below to learn how we designed, planned, and got bids for our new home:
Site Plans
From the moment we bought the land in 2017, we knew where the house was going to be placed on our 12.44 acres. Jason at J Martin Builders helped us with the final orientation of the house for optimal light and mountain views. The site plan is outlined in the picture below:

Construction Plans
As you know, my hubby, Jim and I designed and created our floorplan using SketchUp. I’m happy to report that our builder had to make very few changes. We did take his advice to swap out a couple of interior doors for pocket doors. He also had to tweak the measurements for the wall construction, but those changes were less than an inch. We’ve made a few final changes to the floorplan, which Jason incorporated into the final plans. I can’t stress enough that you’ll want to look at your floorplans several times before the final approval.
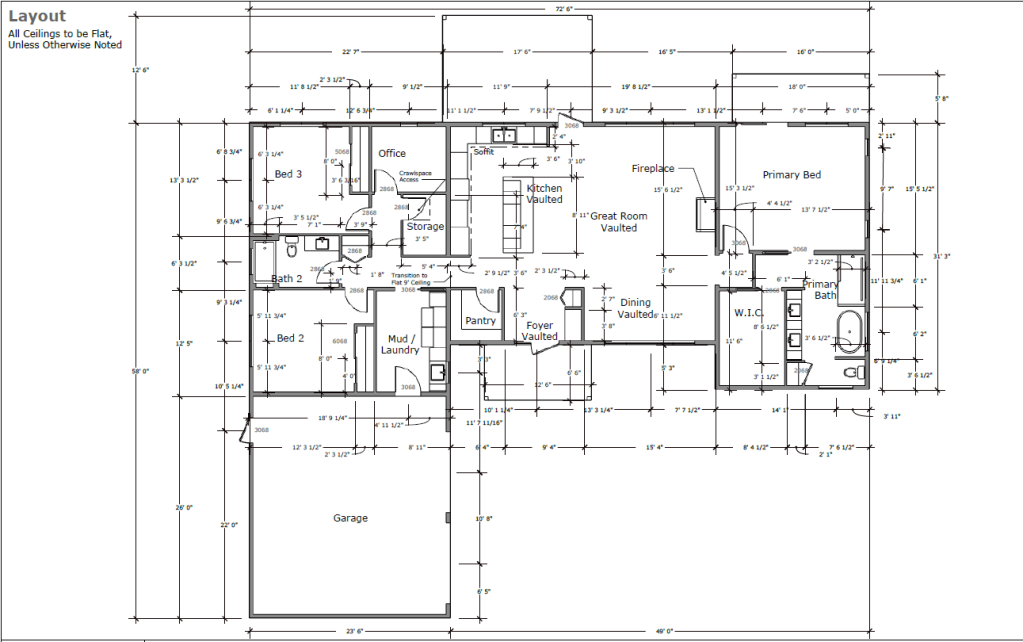

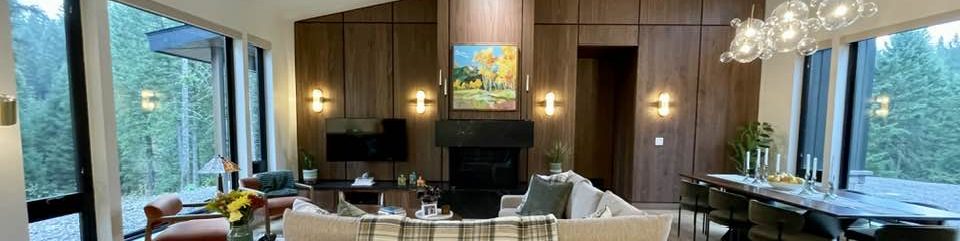
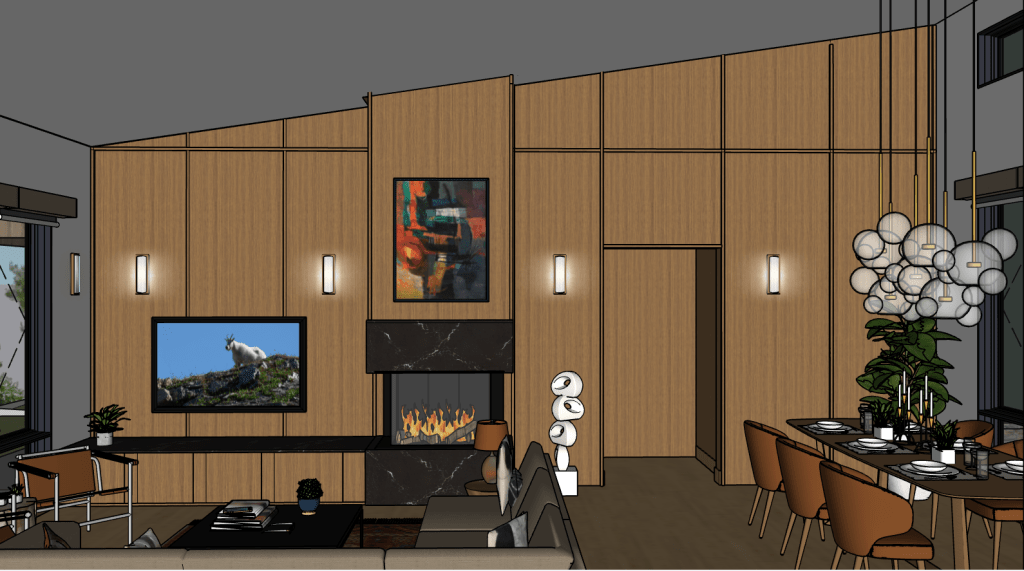
SketchUp Floorplan & Rendering
It also helped that we used 3d renderings on SketchUp to “walk-through” the plan. This allowed is to spot and make changes along the way. It also ensures the final look of the house is exactly how we envisioned it. Using the “Look Around” feature helped me catch imperfections or things that needed tweaking. I caught issues multiple times, which Jim confirmed and then made the appropriate adjustments. For example, I just noticed that the front door and window assembly needed to be centered in our interior entry, which means the front porch needed to be shifted too. Investing in interactive renderings are well-worth the investment.

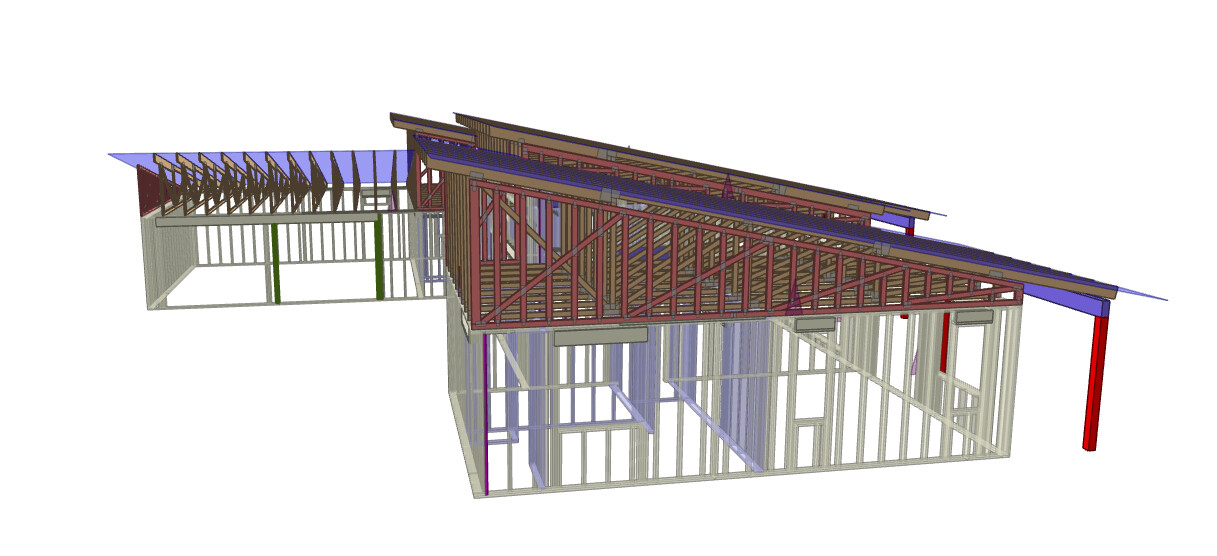
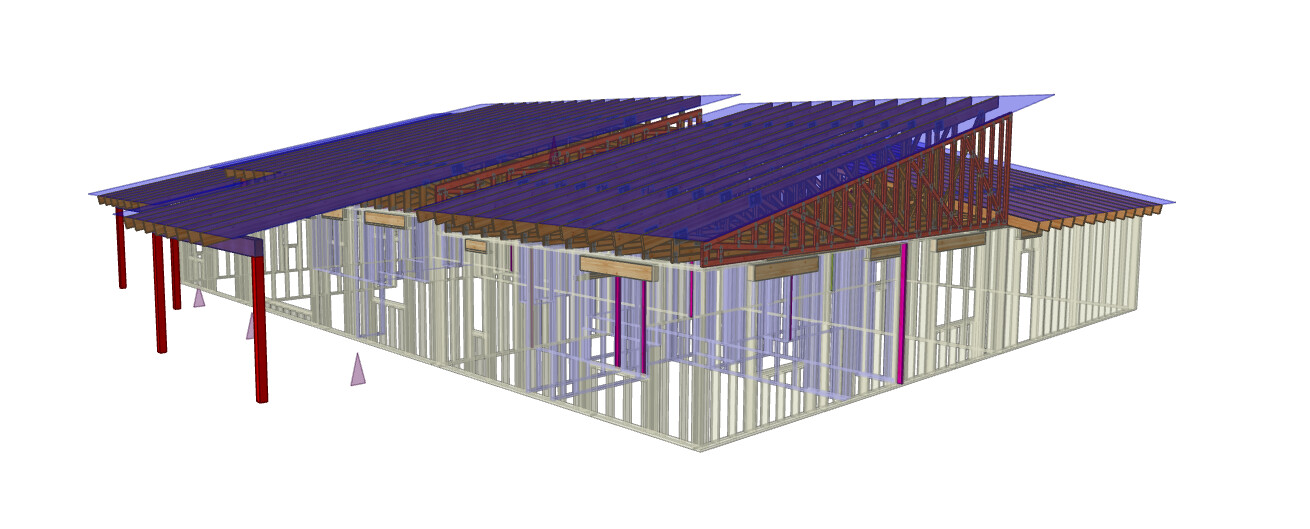
Roof Truss Plans
We now have our roof truss plans. Trusses are designed to distribute the roof’s weight evenly across the walls, ensuring the building stays strong. Trusses are more efficient than traditional beams, allowing for larger open spaces without needing extra supports. The J Martin Build team worked with their truss company to design our trusses. You’ll definitely want professionals, including a structural engineer to pick the best trusses for your build.

Excavation Work
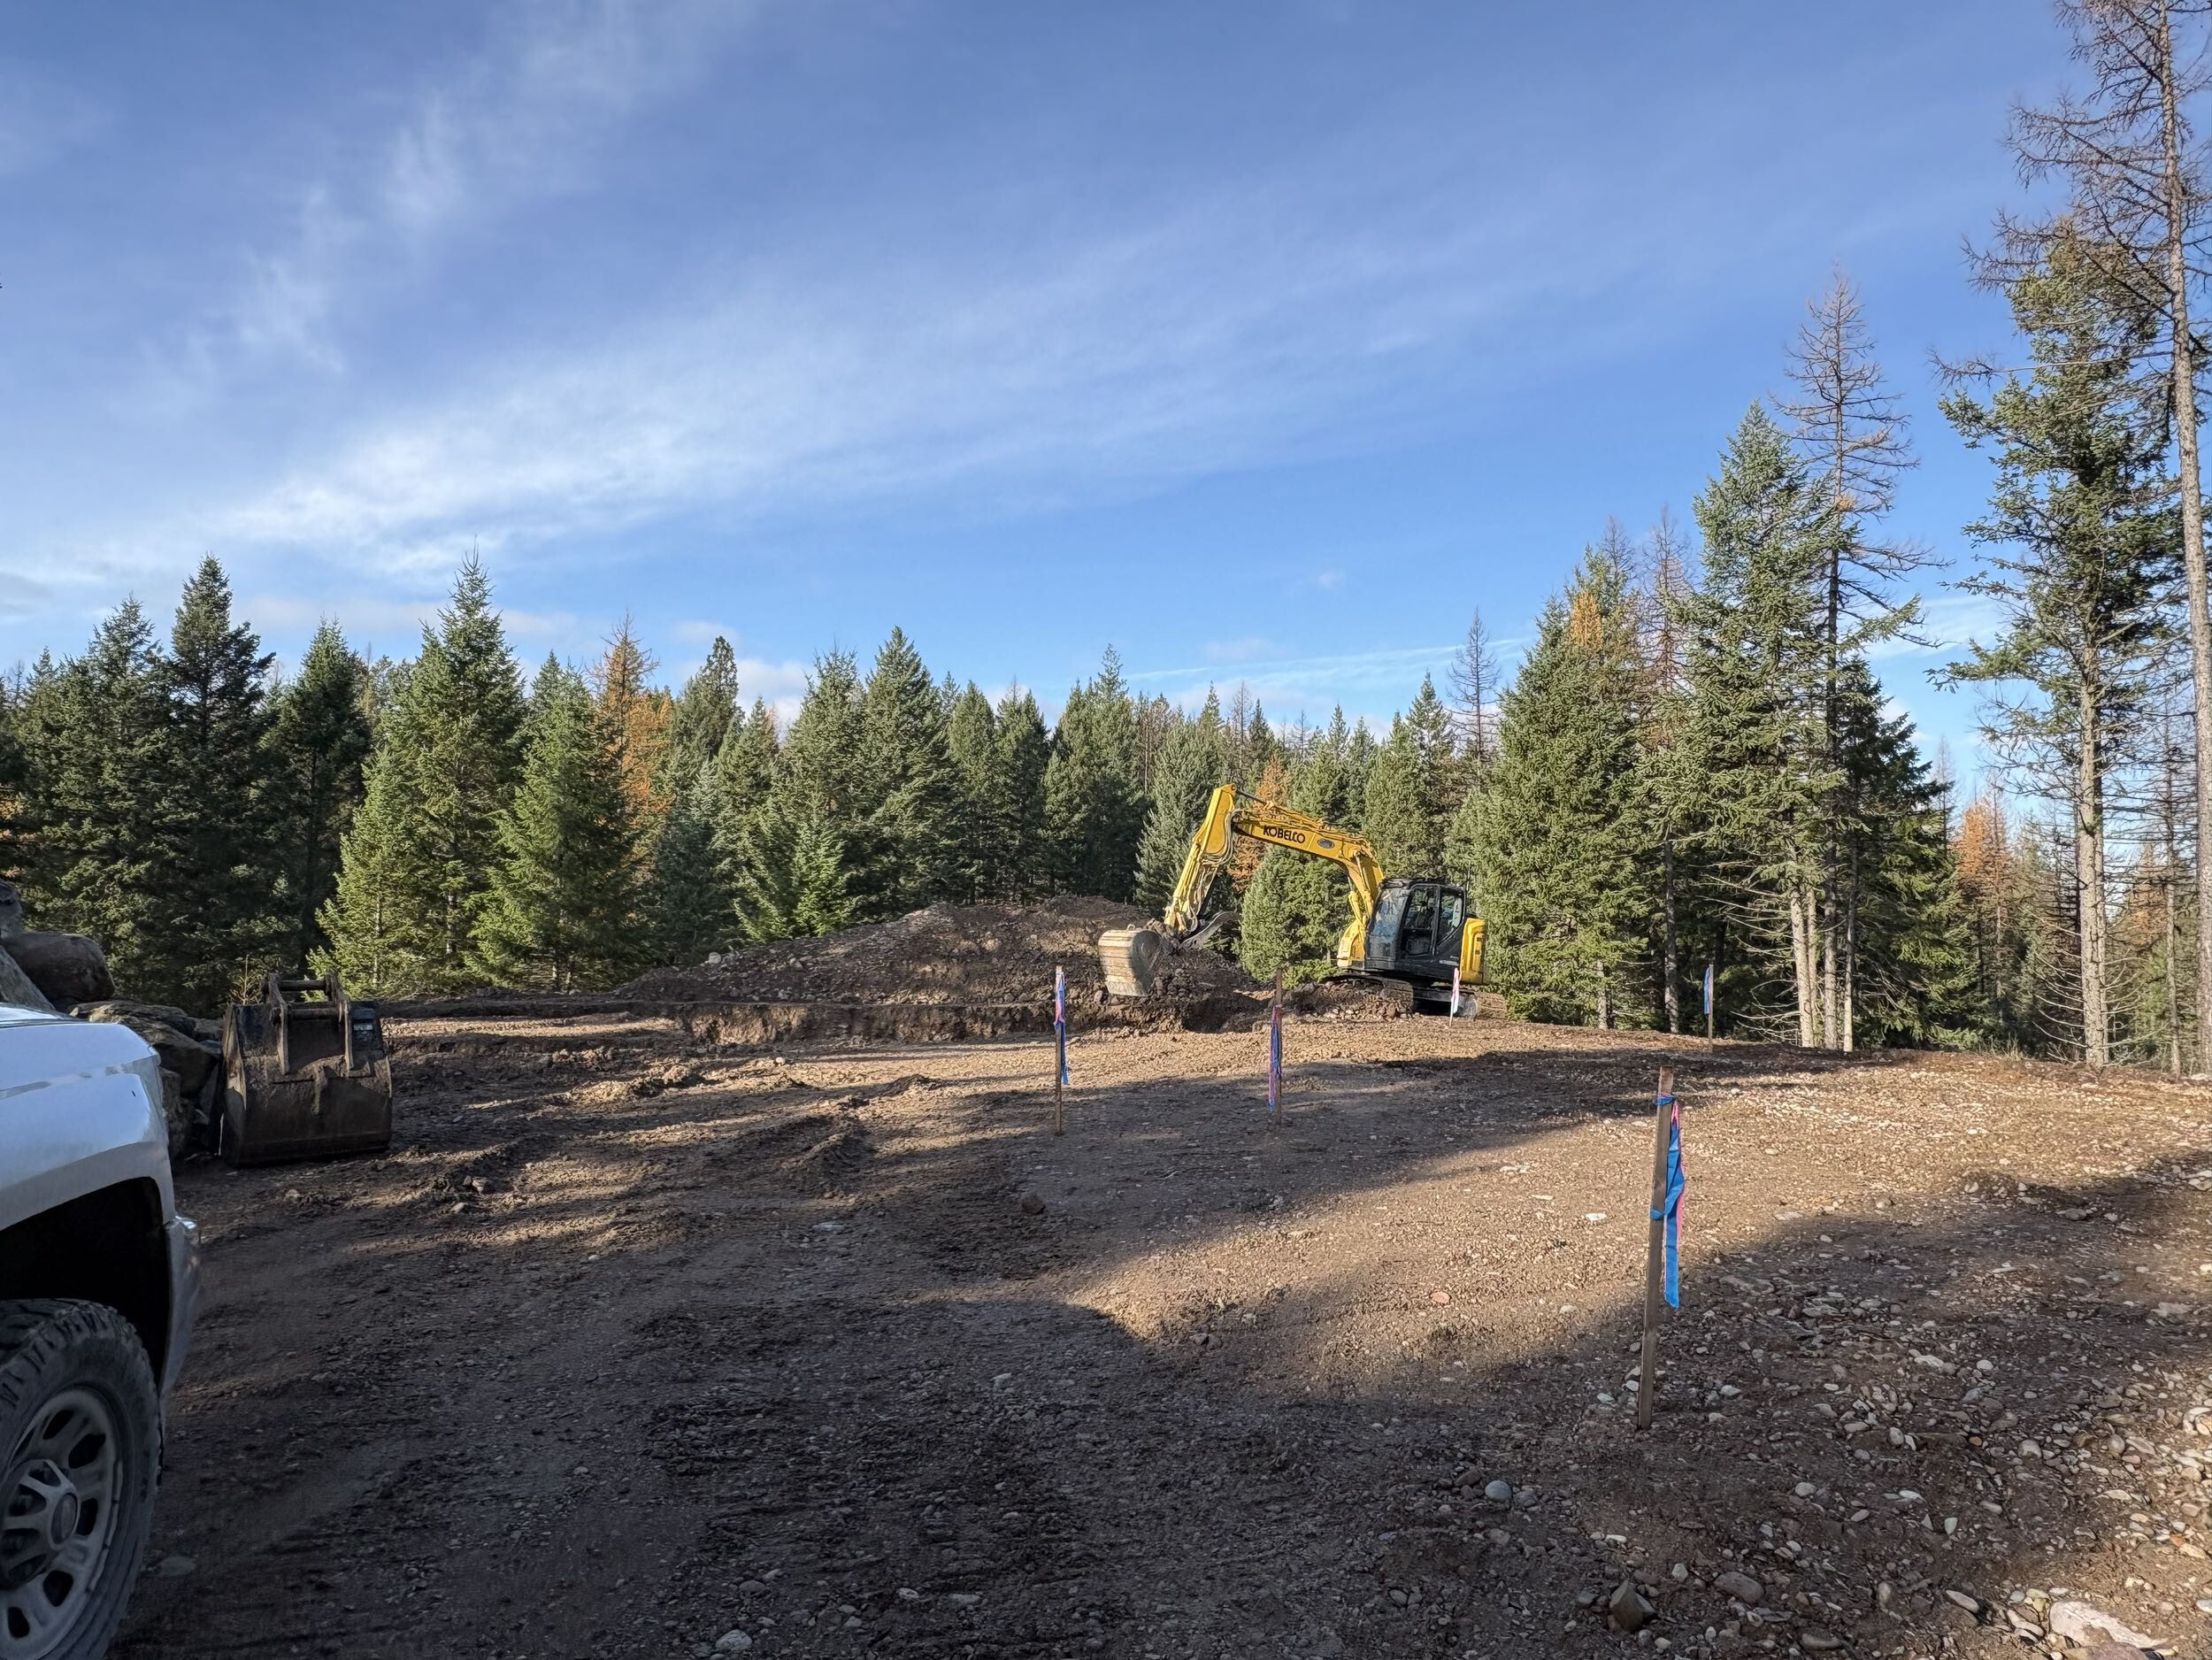
The first thing the excavator contractor, Glacier Construction did was use a Bulldozer to scrap the weeds off our road, driveway and build site. Our property is at the end of a community road, so we won’t have folks driving by unless they’re coming for a visit. As you can see from the picture below, we have a long private driveway. We’ll be responsible for maintaining and removing snow from the driveway.

On the first day of excavation, our new driveway was cut into the hillside. The picture below is before the Bulldozer and Excavator lowered our build site to make it bigger for our house.

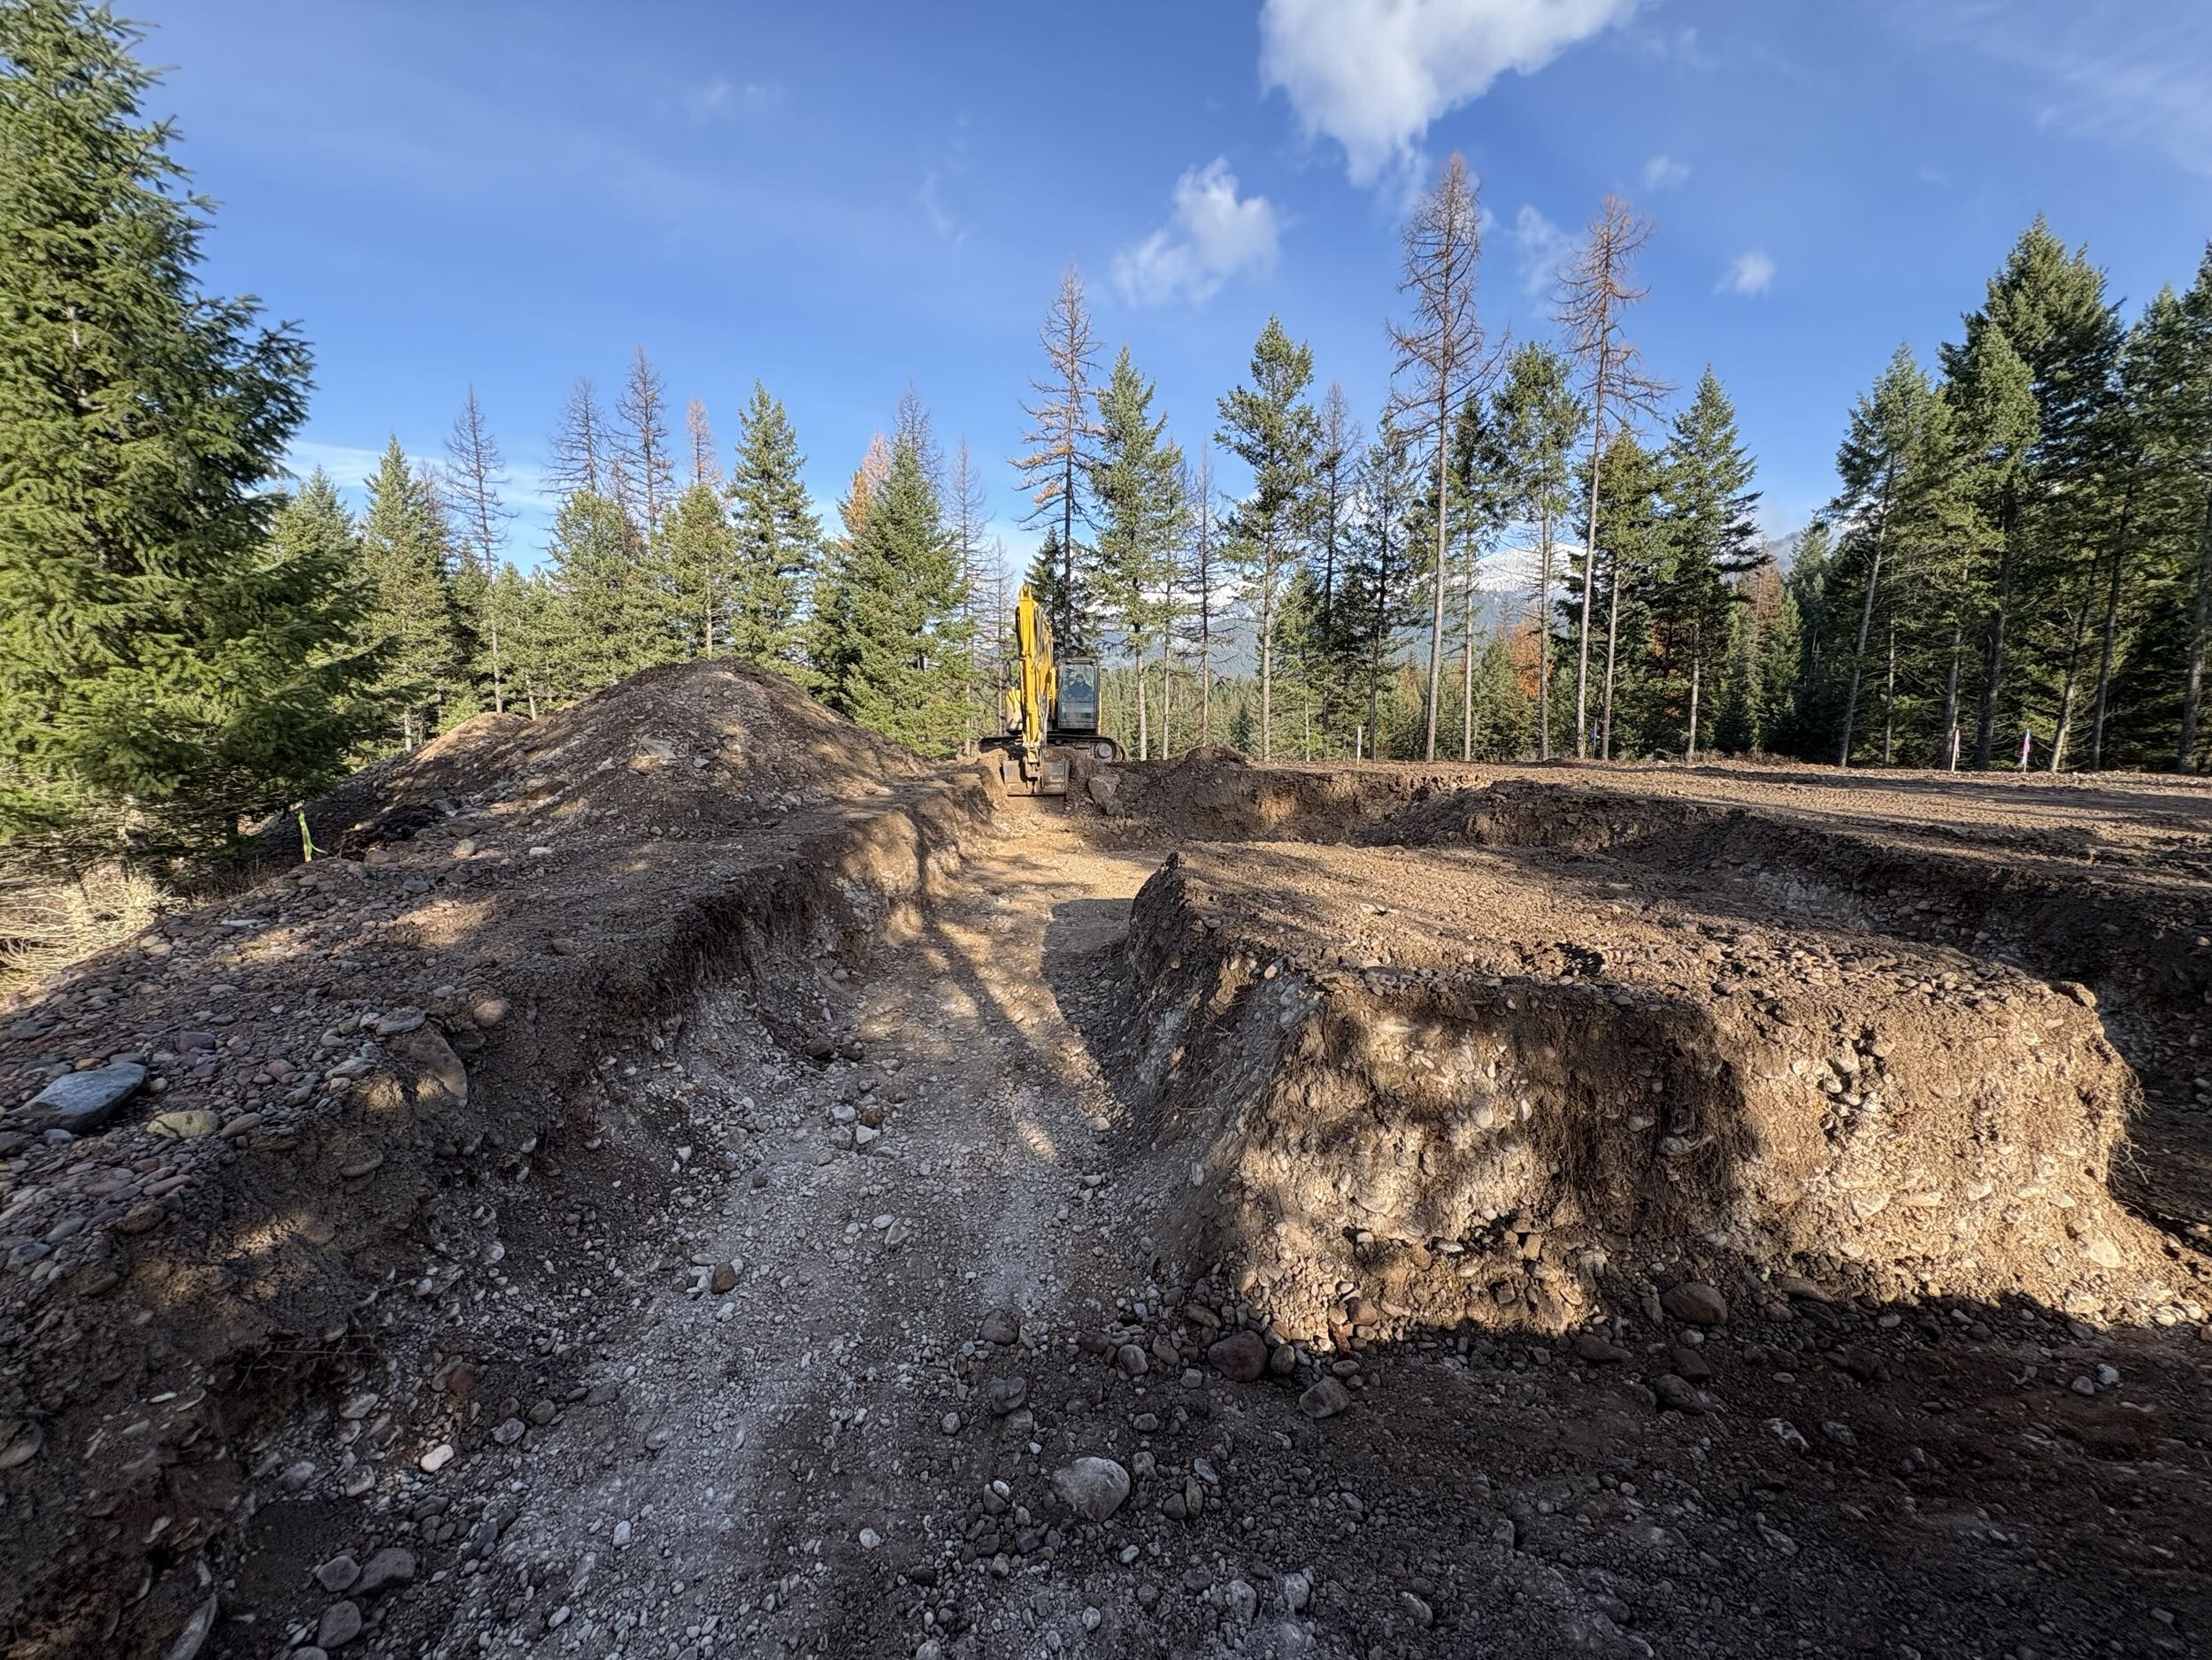
Next the excavation contractor lowered the build site by about two feet and used the excavated material to construct the driveway and fill in low spots. Taking the “top off” of our build site makes it big enough to place our house on it. Lowering the site, also makes the driveway up to our house less steep. Can see the difference in these two pictures?
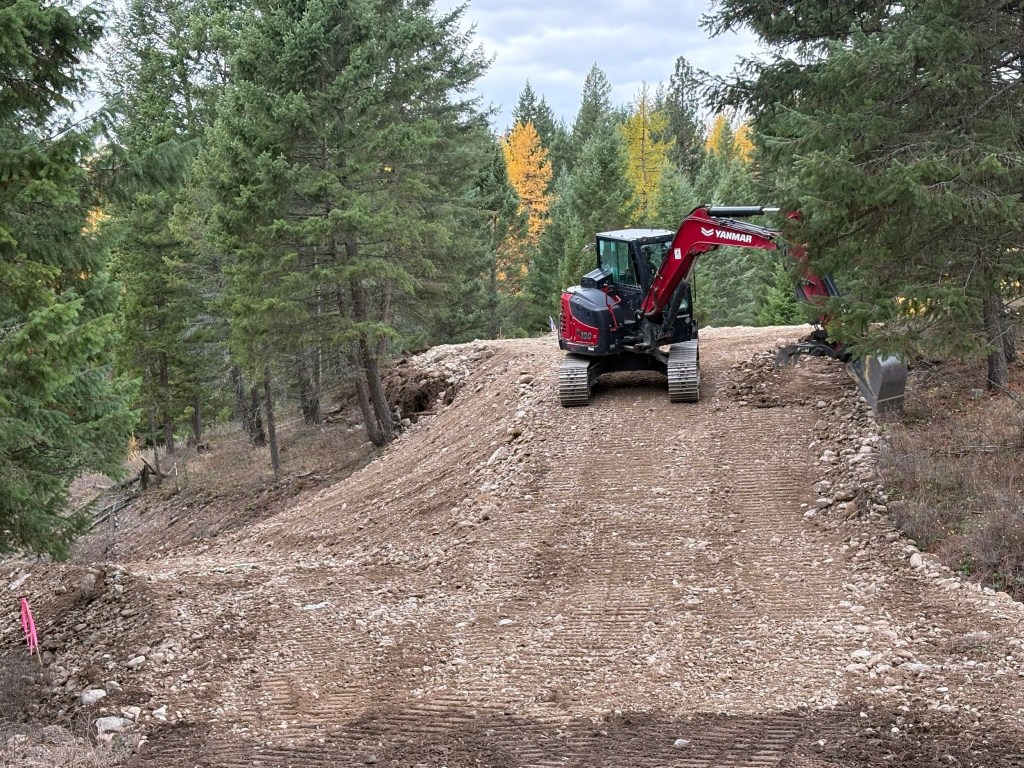
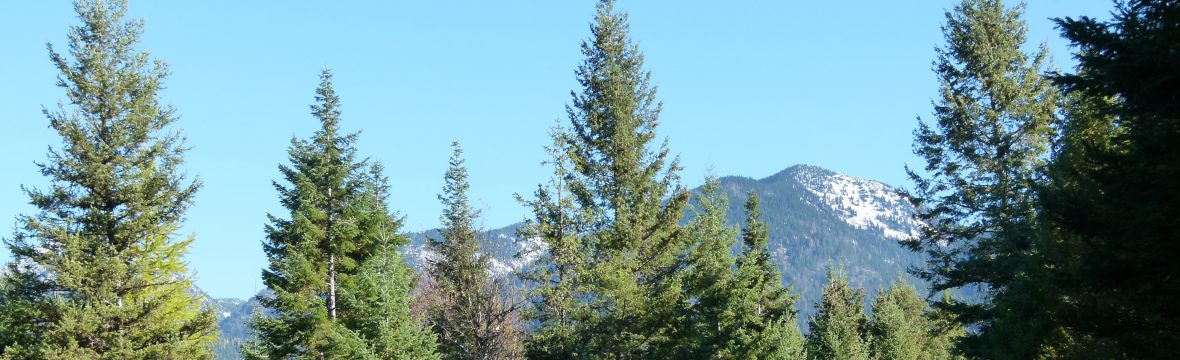
As you can tell, we have a lot of trees on our property. These trees are pretty, but they also can provide wind breaks. They provide food and shelter for critters and privacy for us. The gold pines you see are Western Larch, which turn gold and lose their needles in the fall. The site is now ready for the foundation dig happening this week.
In the pictures below, you’ll see additional site preparation for our new build:

Build Team & Communication
Our Construction Manager, John sends us weekly emails with progress reports and pictures. In his first progress report, John set expectations by saying there will be many weeks of exciting changes and pictures. In addition, some weeks will be less exciting, as they don’t photograph as well, but are just as important.
In addition to John, we also have a Project Manager, Leah. She is responsible for organizing and ordering all our project supplies, everything from Lighting to Tubs. When we hired J Martin a few months ago, we had 80% of our choices already selected. So, when they asked us to use Build.com for our selections, it was easy to put those choices into “My Projects” on Build.com.
In addition to my Interior Design talents, I’m also a detail-oriented person, which comes in handy for this build. Jim also has experience with projects bigger and more complicated than our little home. In addition to Build.com, we also provided Leah with links for items that were not in Build. I was happy to get a note from Leah, who complimented us on how “through and organized” we were for our build. She shared how much it helps the “build move smoothly and efficiently.”
We’ve also hired, Joni Stoll Designs to help us ensure our final design is both functional and beautiful. As I mentioned in another post, she is acting as a second set of eyes and will handle some of the more complicated installations, as well as some furniture and decor pieces. You can find out how we chose Joni in the post below:
The build is off and running, so I’ll be providing updates when things get exciting. I’ll also share more Montana adventures from our September trip, so be sure to subscribe below to never miss a post:
I’d love to hear what you think and feel free to share any questions or comments below:

Leave a comment