

We are excited about the progress we are making in our Ocean Dunes Fixer. The new impact windows are on order and today I started the demo of our guest bathroom. We had planned to hire a contractor for this job, but contractors, designers, cabinet makers, and everyone else related to the construction industry are really busy right now. One contractor has a three to four month backlog of work. To save time and money, Jim and I decided to gut and renovate the guest bathroom ourselves. We still have a functioning primary bathroom, so losing this bathroom temporarily is not a problem.

I checked YouTube for Do-It-Yourself videos for removing tile on the tub surround. I found a helpful video called Two-Ways to Remove Tile by House-Improvement.com. The video demonstrates how to remove large panels of tile, which reduced the mess and work load. I recommend watching the video, How To Remove Bathtub/Shower Wall Tiles – YouTube, but I will provide an overview in this post. Plus, I give you a sneak peek at one of our possible tile choices at the end of this post.
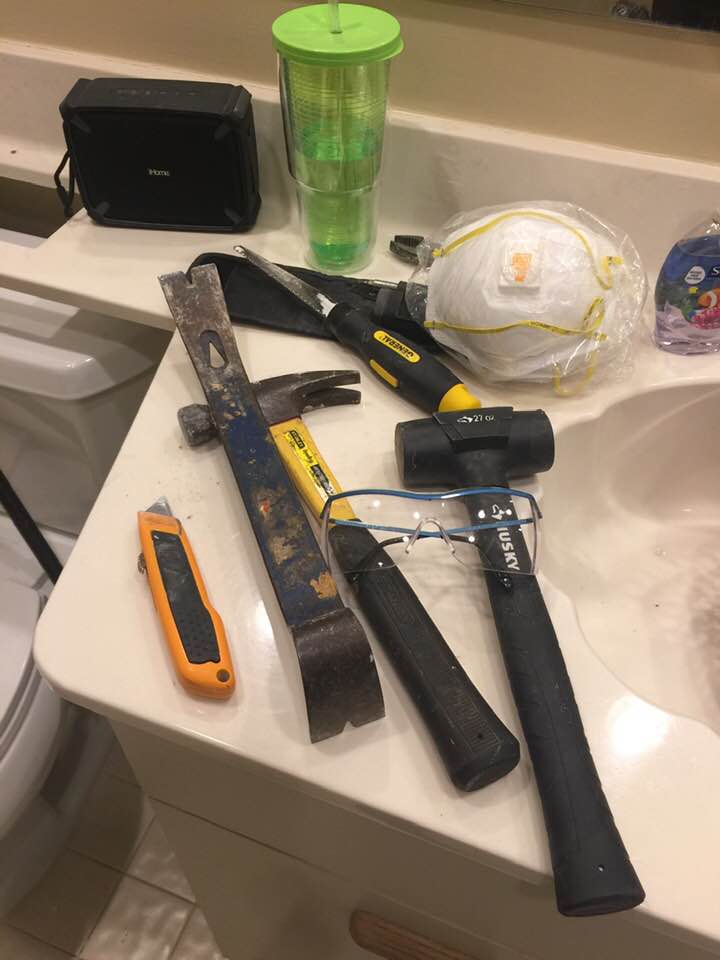
Step one: Gather the tools below, as well as heavy duty garbage bags and bins or buckets for broken tiles.
- Hammer
- Rubber Mallet
- Prybar
- Utility Knife
- Drywall Saw
- Safety Glasses
- Mask
- Ear Protection
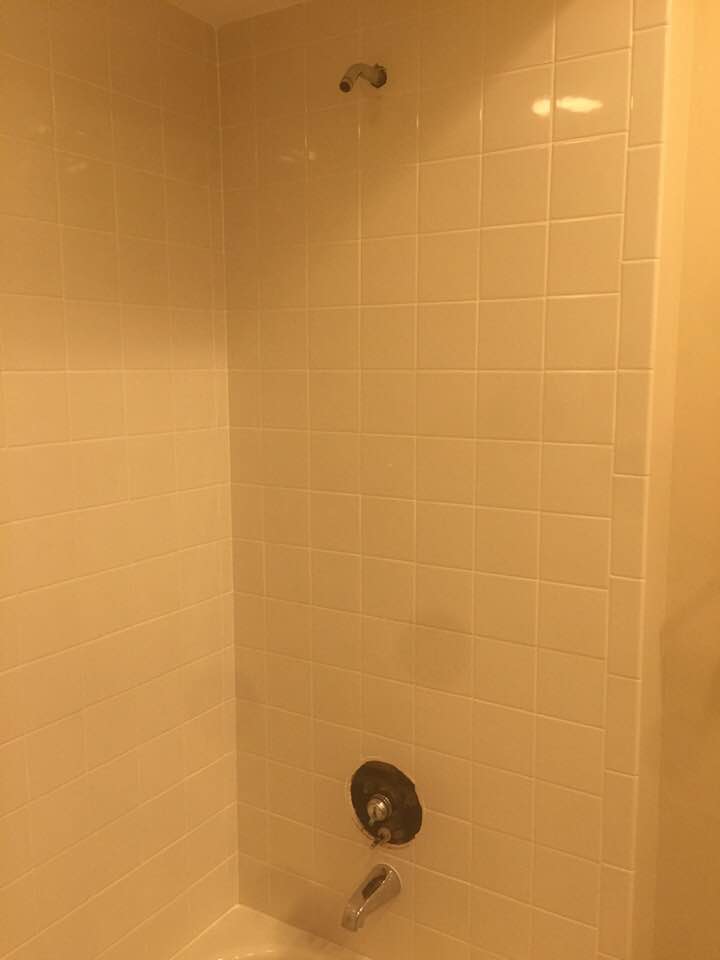
Step two: Remove the outer plumbing fixtures and smash tiles around fixtures with hammer to make it easier to remove the tile panels. We are not saving the tub, but if you were, you would want to cover it with a blanket and plastic to protect it from falling tiles.
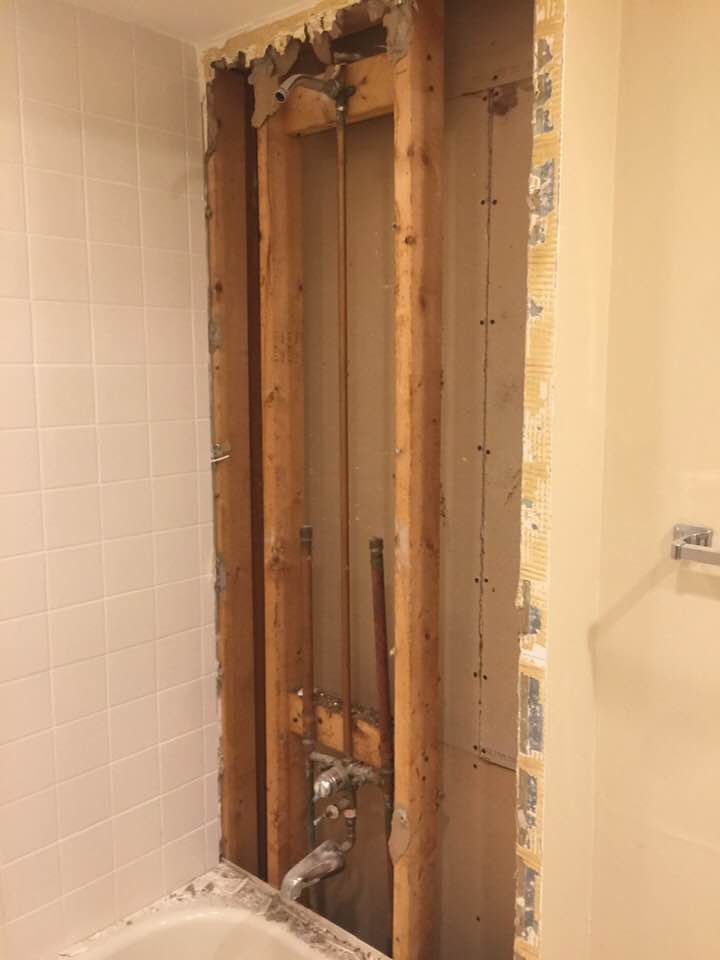
Step three: Use a rubber mallet and pry bar to remove bullnose tiles around the edges. Next use a hammer to break apart a row of tiles and backer board horizontally about half way up the wall. Use the rubber mallet and pry bar to remove the entire row to the corner, as shown in the picture below. Dividing your tile panels will make them easier to remove and lighter to handle.
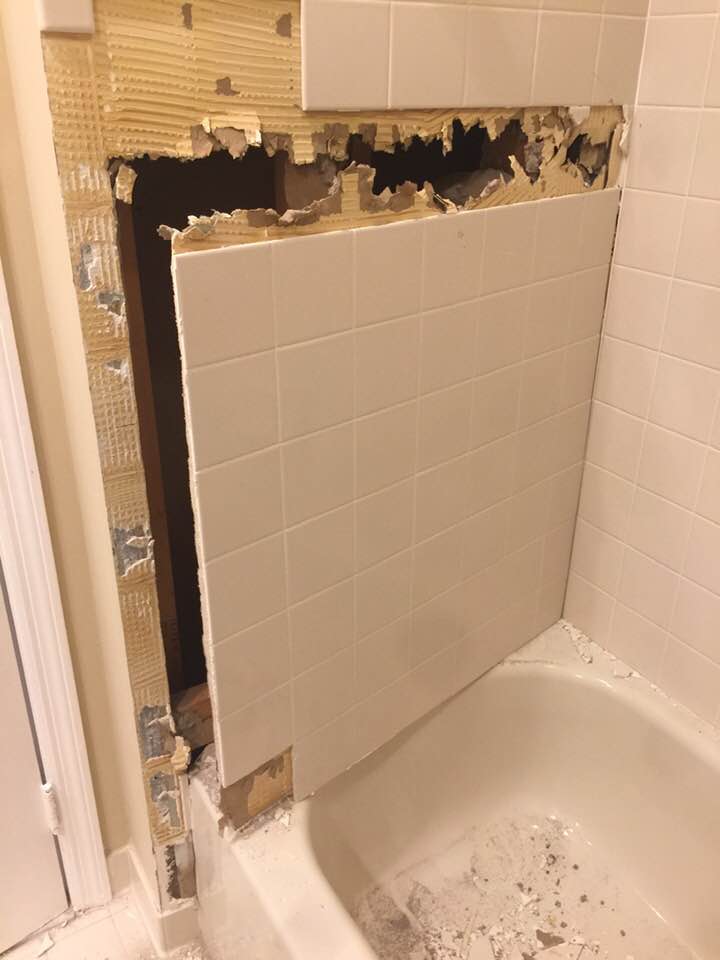
Step four: Use the drywall saw to cut the outside edge of tile, which will allow you to pull the tile panel away from wall. Use the mallet and pry bar along the studs to loosen the tile from the wall in large panels. You may need to use the utility knife in the corners and at the ceiling to loosen the tile. As shown in the picture below, I had to smash the top row of tiles and backer board to remove the top section of tile. Be mindful of plumbing locations to avoid breaking the pipes.
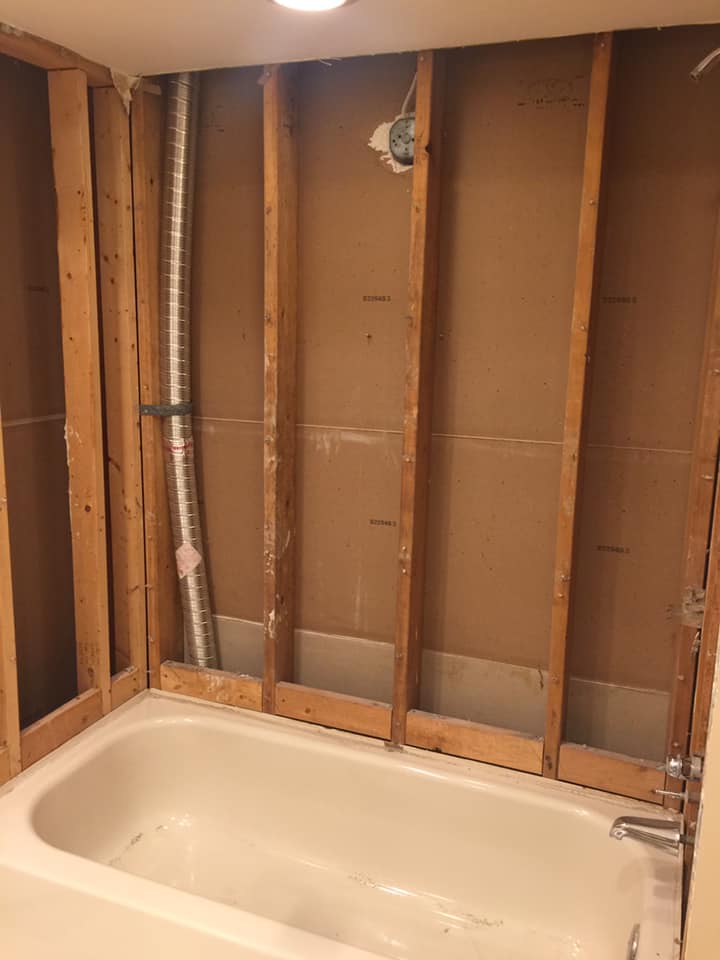
Step five: Repeat the process on each wall. Because the back wall is much larger, I removed a vertical and horizontal row of tiles in the middle of the wall to divide the space into four panels. In the end I had eight tile panels, two for each side wall and four for the larger back wall. In addition to the panels, we had one bin of debris. If you can’t dispose of the panels and debris in your garbage, simply bring them to your local dump.

Removing the wall tile took a couple of hours. Our next step will be to remove the countertop and cabinet to make it easier to remove the floor tiles. Unfortunately, they used metal lathe and mortar to affix the floor tiles, so that is going to be harder and messier. Finally, we will remove the tub, which means we will be ready for a brand new guest bathroom.
To ensure we get high quality plumbing fixtures at a reasonable price, I met with Jessica at Broedell Plumbing Supply. They have beautiful showrooms containing everything we will need to remodel our bathrooms and kitchen. Jessica was professional, knowledgeable, and made selecting all our fixtures easy. To learn more visit their website at Showrooms – Broedell Plumbing Supply.
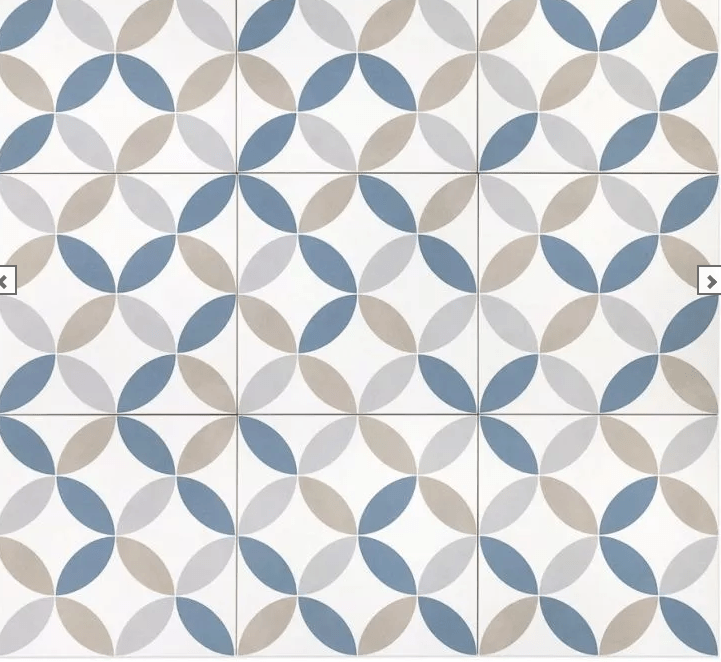
We will probably choose a neutral tile in white, grey or beige for most of the tile in our bathrooms. In our primary bathroom, we are considering a geometric tile, hopefully with a pop of blue, which reminds us that the ocean is less than a half-mile away. We had a lot of blue in our last home and both love it. One of my favorite online sites for tile is https://www.tilebar.com/. The site makes it easy to filter your choices and if you sign-in, it allows you to save your favorites. I just ordered five sample tiles for five dollars, including the tile below, which we are considering for one wall in our primary bathroom shower.
If you enjoyed this post, please like, share, and/or tell me what you thought in the comments. Stay tuned for more updates by subscribing below:

1 thought on “A Little Knowledge makes the Job Easier”