
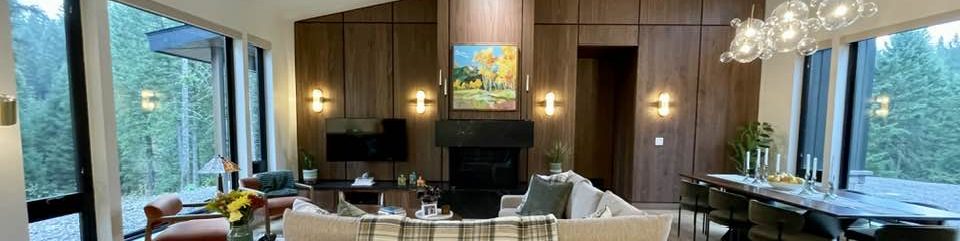

To make your spaces more interesting and inviting, follow these tips to add a designer’s touch to your home. In this post, Allison shares tried and true strategies that will help you pull together your space, create beautiful still-life groupings, properly hang artwork and tricks for small or large spaces.
Finishing Touches
To help you pull together the finishing touches in your space, consider using Kelley Carter’s clever checklist to make your room feel complete.
- The Inviter is something that sparks your interest and arouses your curiosity, drawing you into the room. It may be an interesting detail that catches your eye and makes you want to step in and look at it more closely, or just to feel the mood of the room.
- The Cosifier is something that entices you to stay in the room. It may be a soft cashmere throw or a wonderfully snug armchair that invites you to curl up in it.
- The Eye Lifter is a detail that leads your eye upwards and creates a frame for the other furniture in the room. It may be a lamp that makes you look up and take in the whole room, or a striking wall of pictures from floor to ceiling, or a large potted plant that forces you to notice both it and the whole room.
- The Wow! Object is the detail with the loudest voice and consequently the obvious focal point. It could be something structural, such as big windows with a stunning view, or a beautiful piece of furniture.
- The Quirky Thing is what brings the observer to a standstill and then holds the eye. It might be a work of art, a prized heirloom, a collection of artefacts you found at a flea market or – and why not? – something you made yourself.
- The Personalizers are those items that make your home distinctively yours. They may be family photos, inherited pieces, souvenirs and personal objects that tell your story and that of other family members. These things do not have to be prominent or eye-catching; they are just nice to have around.
- The Natural Element consists of those things that impart a feeling of life, texture and color into a space: potted plants, cut flowers, natural materials and objects with an organic shape.
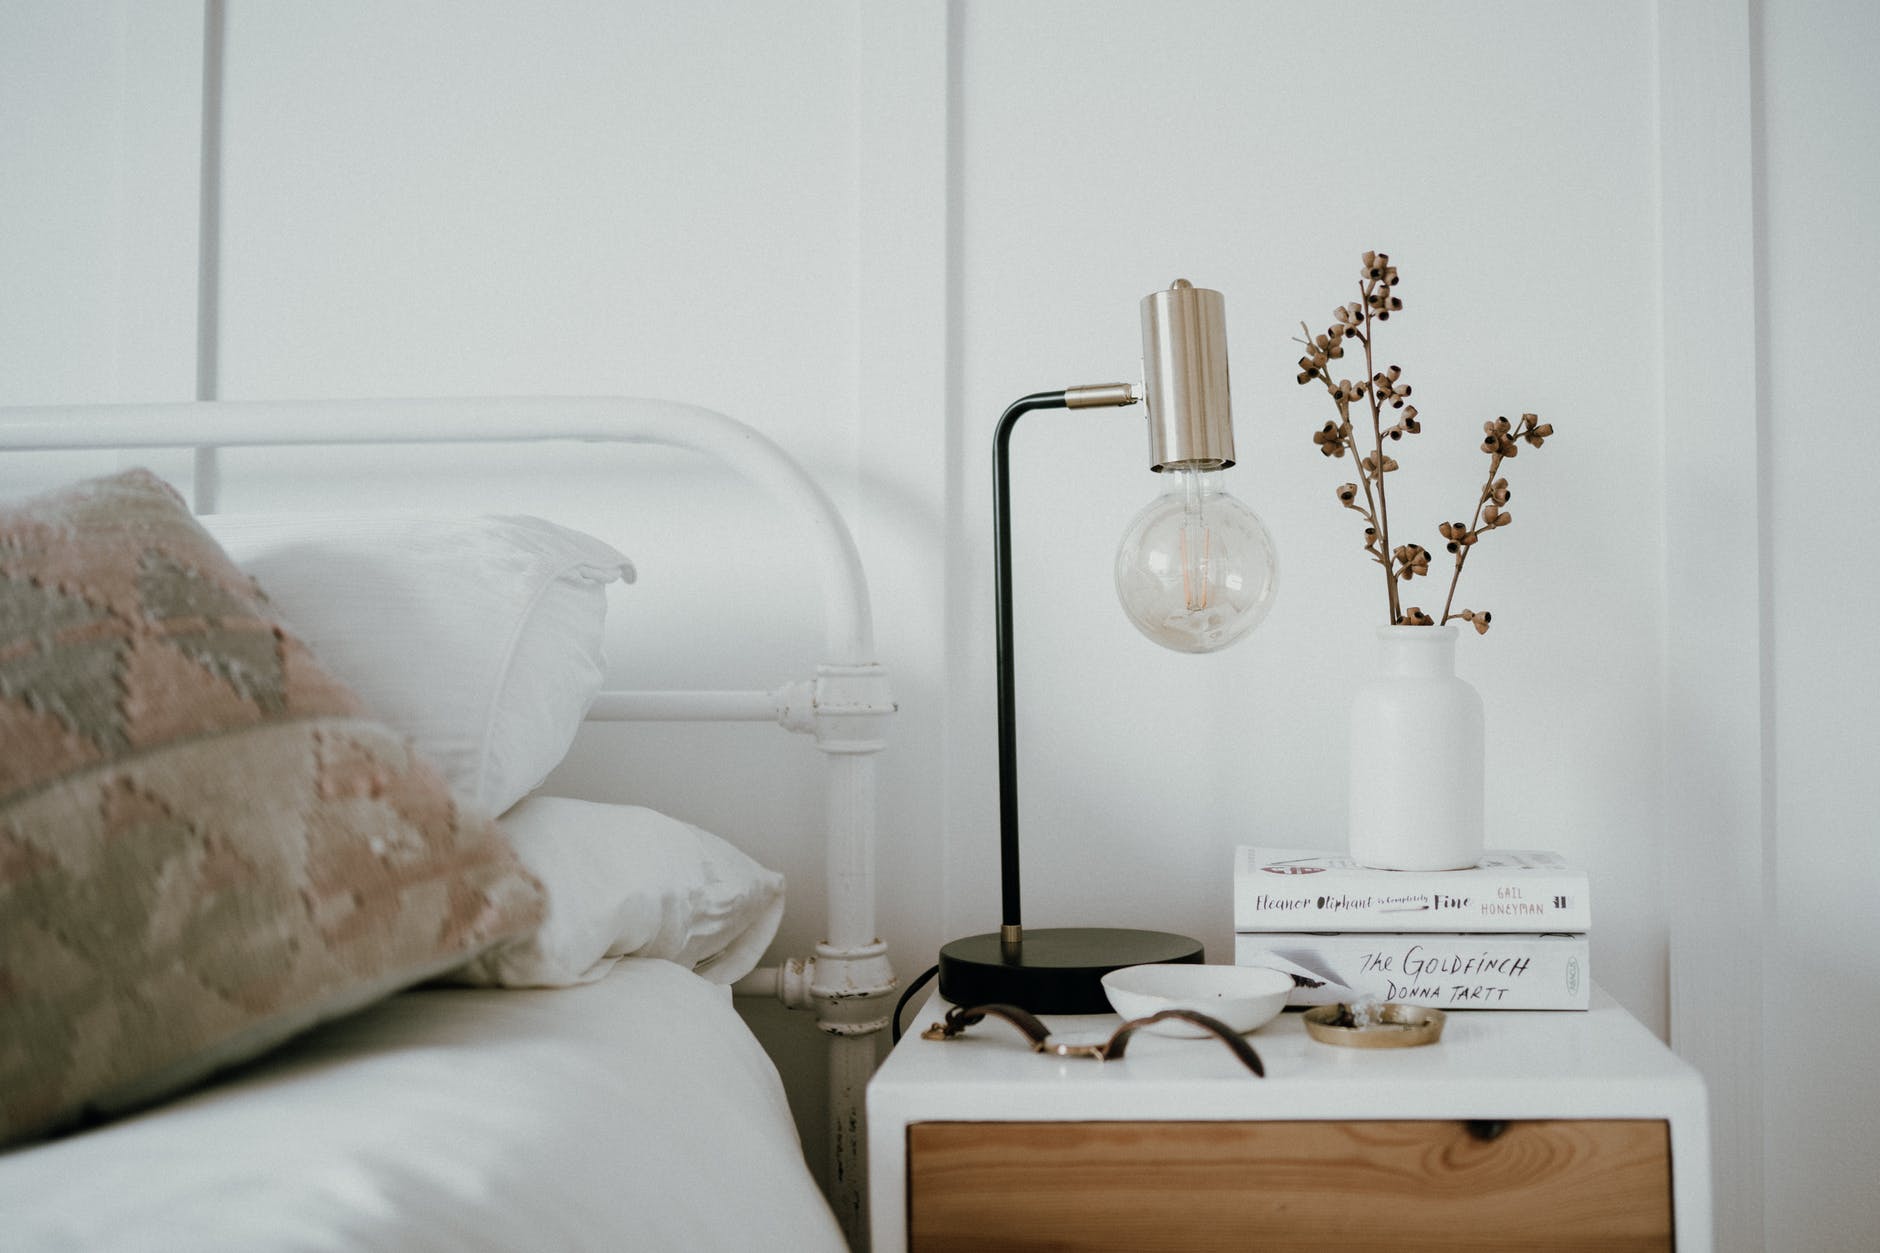
- The Finishing Touches are the things that fill in the blanks and spaces in a complete interior and add life to the furnishings: a basket of magazines, stack of books, or a beautiful bowl.
- Signs of Life are the last details necessary to bring a room alive – things that remind you it is lived in: a pair of glasses, your favorite slippers, or a cup of coffee. These are things that get cleared away for the Instagram photo, but otherwise create a lived-in feel and the wonderful sense that someone has made themselves at home.
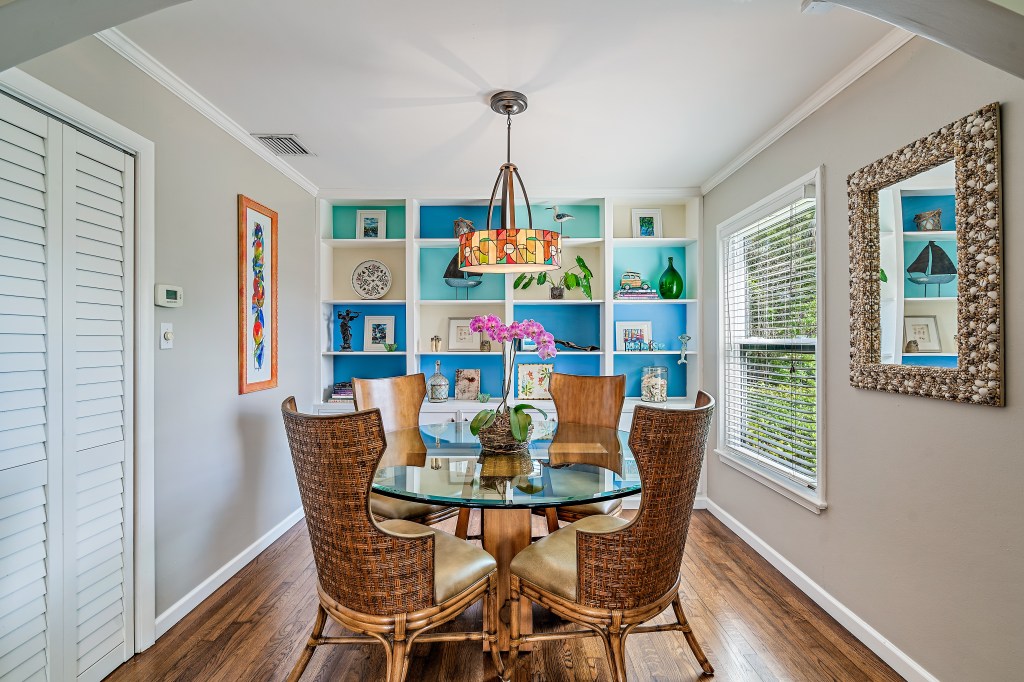
Still-Life
Decorators and interior stylists frequently group objects in order to catch the eye or reinforce the style and mood they are trying to achieve in a space. Grouping objects into still-life arrangements rather than spreading them out is an effective way to make a design feel more cohesive. Here are some key ingredients for arranging successful still-life groupings:
- A high point, like a tall candlestick, plant or cut flowers.
- A weighty point, such as a rounded vase, a bowl or some other visually heavy object.
- A focal point or main element within the still-life.
- Something organic or irregular taken from nature or made of natural materials, such as a ceramic piece or artwork.
- Horizontal lines, such as books lying flat, boxes or oval dishes.
- Vertical lines, like tall, slim objects or candlesticks.
- Complementary objects, such as small personal details that complement and create life – a pretty stone, shell or something the children made.
Now that you know what you will need, here is a step-by-step guide to arranging a still-life:
- Collect the objects you want to use. Have a mixture of materials and structures, such as wood, metal and glass in different shapes and sizes. Use opposites to create contrast – high and low, soft and hard, matt and glossy, smooth and rough.
- Sort the objects according to size.
- Establish the place where the still life is to stand, mentally marking the area you want the objects to inhabit.
- Decide on the contour or outline your group with have. Think triangles that form vertical or horizontal triangles. Think about what direction that you want the lines to lead the eye.
- Start at the back and work you way forward as you place the objects.
- Work with odd numbers (three, five or seven objects) rather than even numbers.
- Make sure objects in the group overlap, so that they conceal a little of each other to produce a better sense of unity.
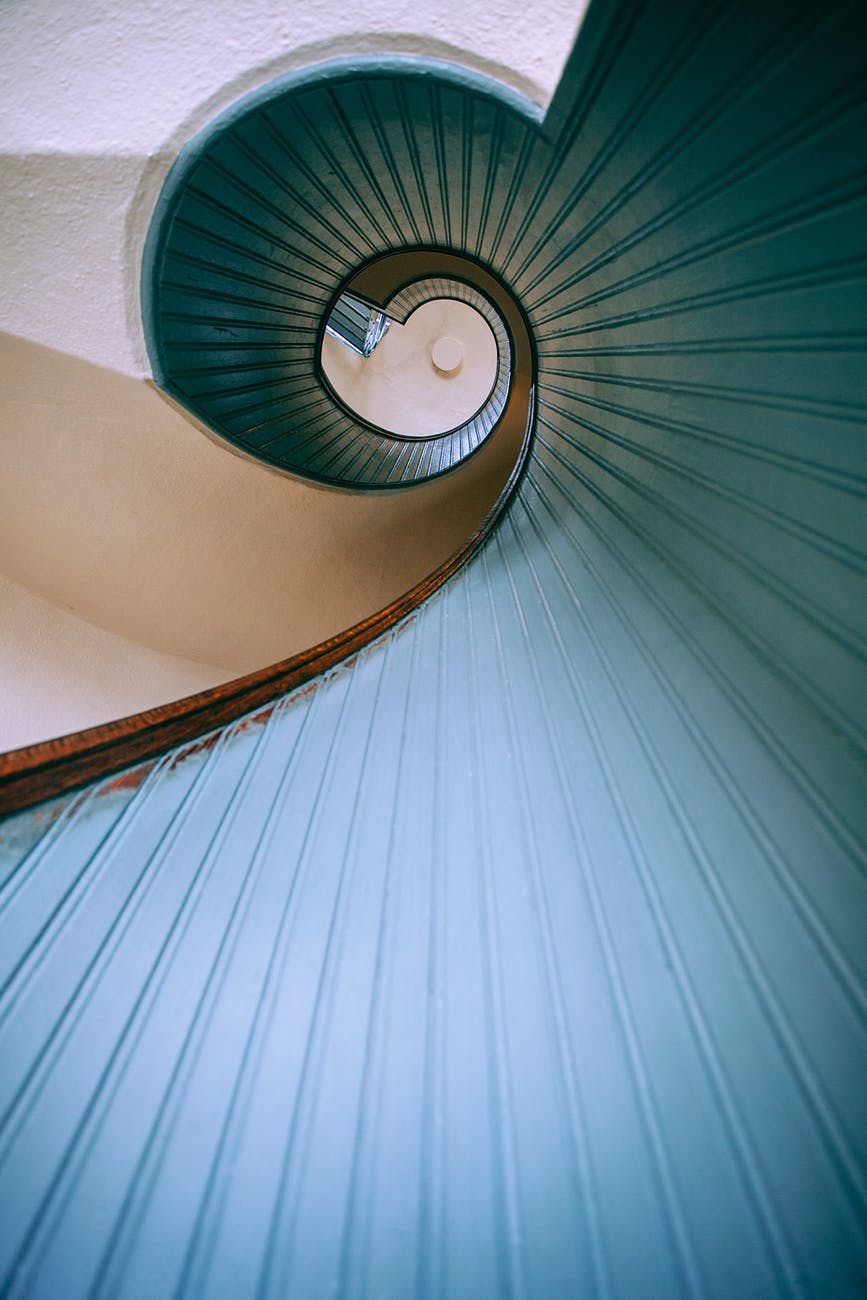
- Try to place objects in such a way that the eye is led through the still life. Use the golden spiral to encourage the eye to follow that kind of movement.
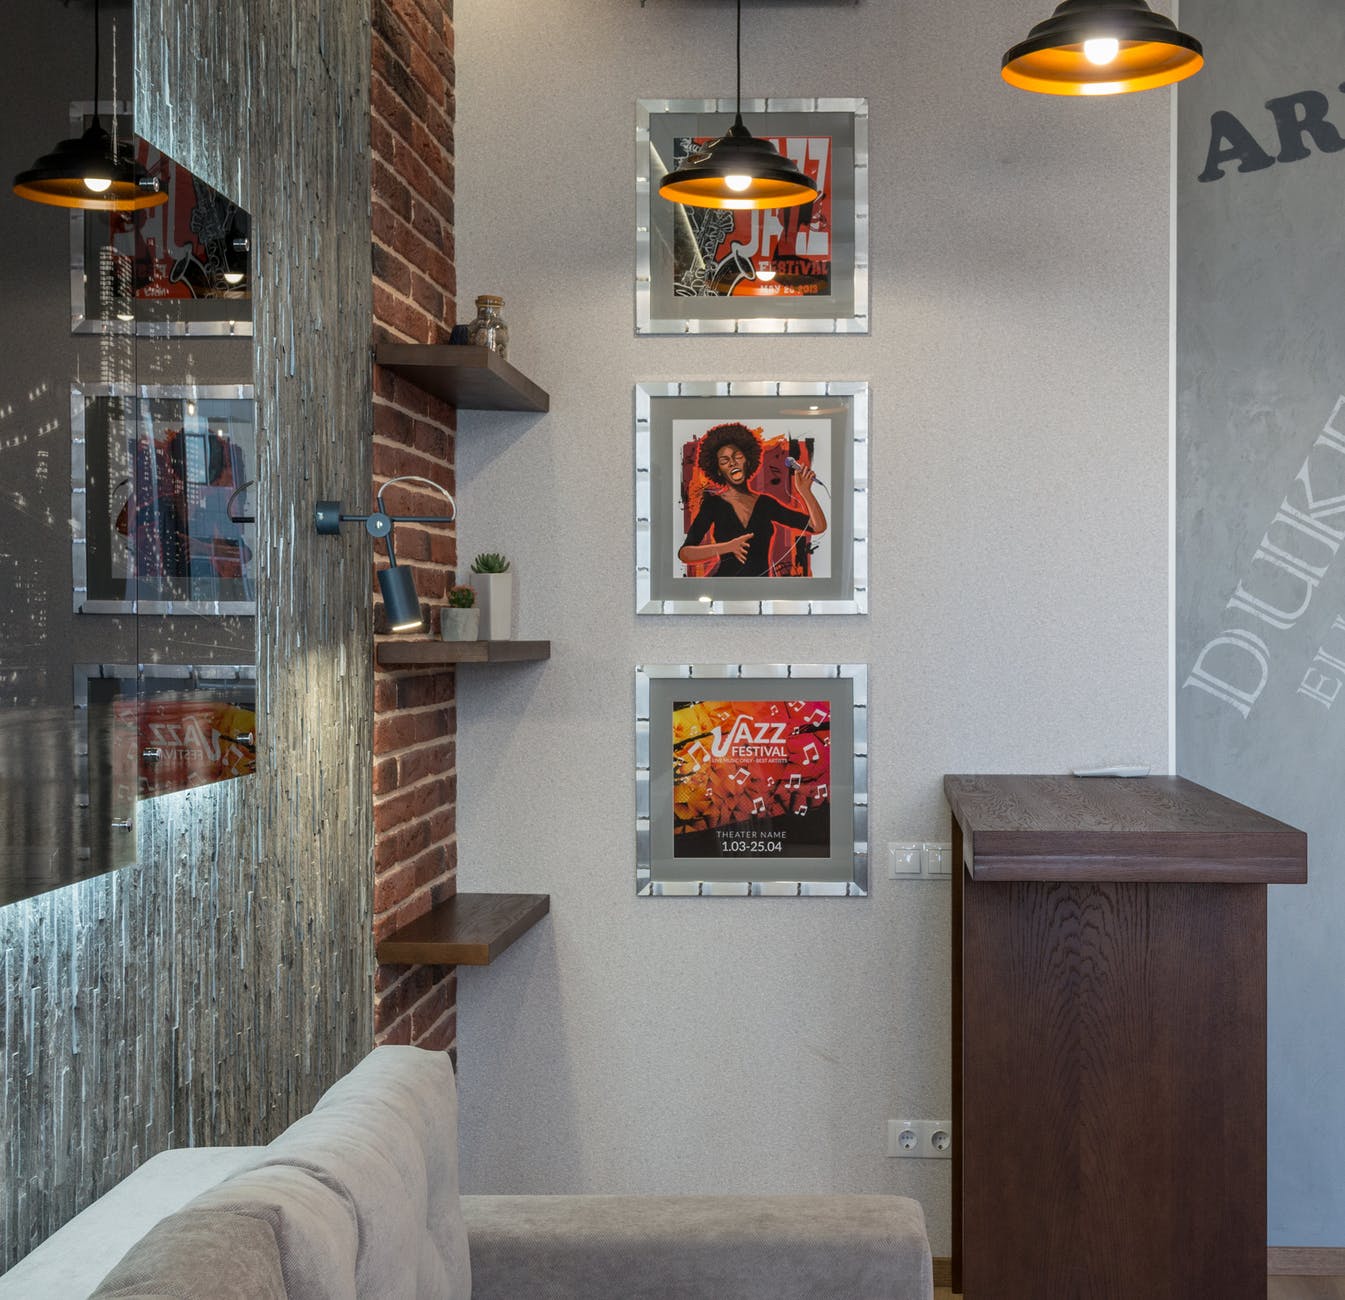
Artwork
No home is complete without pictures hanging on the walls. Finding and hanging artwork can be challenging, but the best tip I can provide for the first task is to buy what you love. Visit local art festivals to find artwork that is affordable, plus you will have the opportunity to meet and support a local artist. Consider what you are trying to achieve – what type of visual stimulus and effect are you going for – bold or something more discreet? Here are a few tips for hanging artwork:
- Artwork over a sofa or bed work best if the pictures cover only two-thirds of the wall behind the furniture.
- A light-colored frame allows a picture to really sing, as it does not draw attention away from the subject of the picture.
- Dark-colored frames create contrast and help to balance images that have dark areas, such as black and white photos.
- Hang pictures 57 inches to the center or in other words, the center of the picture or wall of pictures should be at a height of 57 inches from the floor. Keep in mind that using this rule in a room with really high ceilings or behind a low sofa would lead to off kilter proportions.
- When planning a gallery wall or group of pictures, it is best to either use the same size frames or if using different sizes, stick to a maximum of three sizes – large, medium and small.
For a successful gallery wall, consider using one of the following installation techniques:
- Midline – hang your picture in a row so that they are all aligned along the midline.
- Base line – hang your pictures in a row so that they are all aligned along the baseline, which works with regular or irregular frame shapes.
- Top line – hang your pictures in a row so that they are all aligned along the top line.
- Leading line – Choose the subjects and hang the pictures so that they eye is led diagonally upward. Mix vertical and horizontal frames and ensure that the frame of each picture is an equal distance from the frame around it.
- Plumb line – Hang your pictures above one another aligned on a center plumb line, whether the frames are all the same size or different sizes. This works well with both regular and irregular frame shapes and is particularly good for narrow sections of wall.
- Wave/Rainbow shape – If you have many different frame sizes or objects, hang pictures in an imagined wave shape. Choose one picture to act as a hub and then hang the other pictures or objects in curved lines running from it to create a unified pattern.
- Box shape – Create a sense of coherence and calm by arranging the outer edges of the pictures to form a square or rectangular box.
- Final note – Choose a main character or a favorite piece first and then choose its companions to highlight your favorite piece in the grouping.
14 Gallery Wall Layouts to Get You Started

Size-related challenges
There are a number of tricks you can use to change the way you experience your home and the things you may be unhappy about it. In this section, I’m going to suggest some tips for making a room feel bigger or smaller.
Making a room feel bigger:
- Choose a light color palette for your walls, ceiling and furniture.
- Keep the windows free of bulky furniture.
- Design to scale and proportion by using the rule of thirds – divide your room into thirds rather than into two. This is a trick used in photography, where you position your subject on one of the points where the lines intersect rather than in the middle of the grid.
- Choose light textiles and proportions to decrease the visual weight in the room.
- Create optical illusions with lines – use vertical lines to make the ceiling seem higher and horizontal lines to create more width in a space. In a small space it is better to have tall, slim and shallow bookcases rather than low, fat sideboards.
- Use mirror(s) facing a window to spread light around your space.
- Accentuate the corner by lighting up and filling the corners of a room, which will make the space appear larger.
- Free up floor space with hanging shelves and give the illusion of space with glass topped tables and furniture pieces with legs.
Making a room feel smaller:
- Choose a darker color palette and avoid mirrors.
- Create zones by arranging furniture into groupings resting on a large area rug.
- Furnish your space from the middle outwards or in other words, float your furniture in the middle of the room instead of lining it up against the walls.
- Design the lighting in zones so that the lighting itself helps demarcate clearly the different spatial zones and creates a cozy sense of separateness in spite of the absence of actual walls.
- Use an abundance of textiles and soften the walls, floor and furniture with generous amounts of fabric to create a warm, snug ambience.
- Make full use of every inch of vertical space – right up to the ceiling. Use a wall of pictures from floor to ceiling or shelving that is higher than normal.
What design challenges do you face in your place? Let me know and I will be happy to help. Be sure to subscribe for future updates, as well as like and share this post.

1 thought on “Make Yourself at Home”