


The Ocean Dunes Fixer has been transformed into a Coastal Modern retreat, but there are still a few projects left to complete, including a new stair railing, fixing drywall cracks, and the primary bathroom. The primary bathroom had a update within the last 10 plus years, so the decision was made to save that bathroom for last. The bathroom tiles and single vanity were all very brown with a Mediterranean style, which made the bathroom dark and dated. After stripping this bathroom down to the studs, we are now ready to remodel this bathroom, which includes:
- Remove a small linen closet to make room for a double vanity
- Move all the plumbing, both water supply (copper) and drains (PVC)
- Drywall repair
- Install new shower pan
- Install new concrete board with full water proofing protection
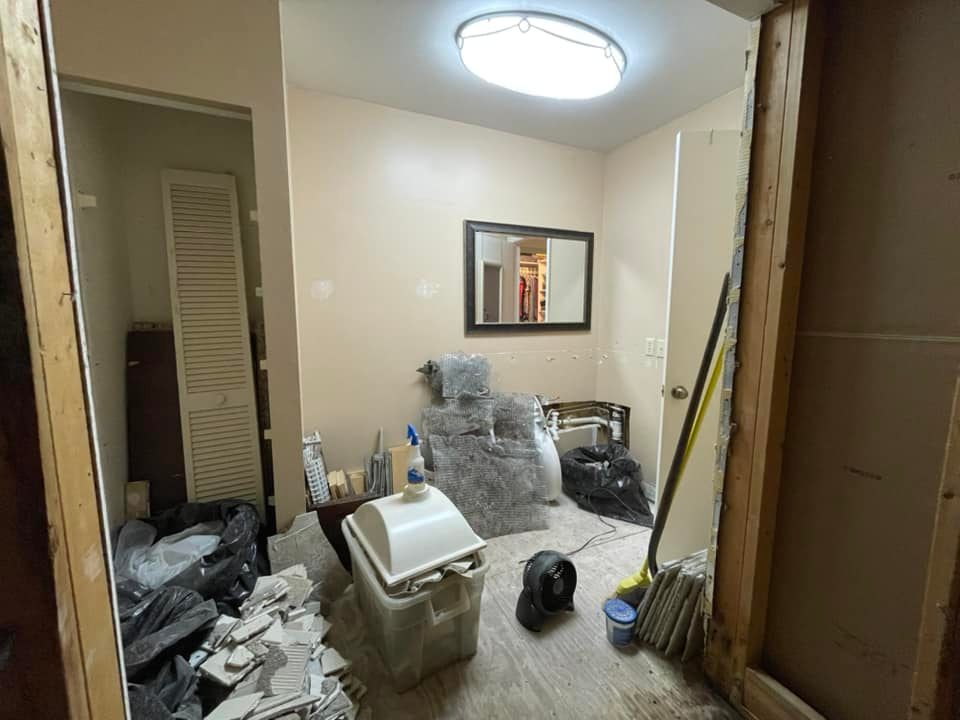
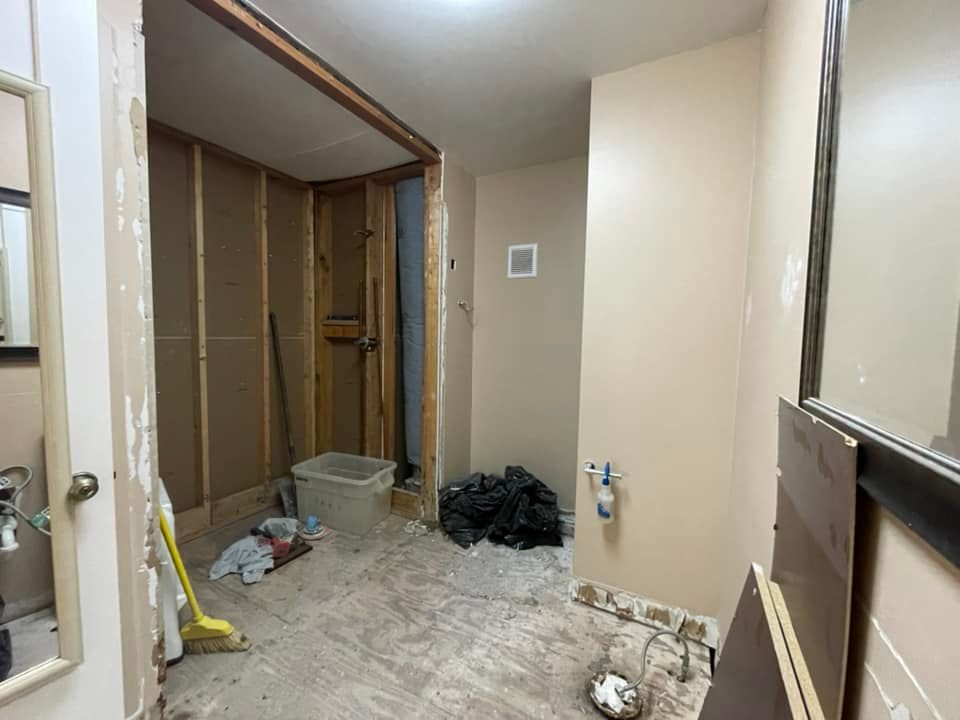
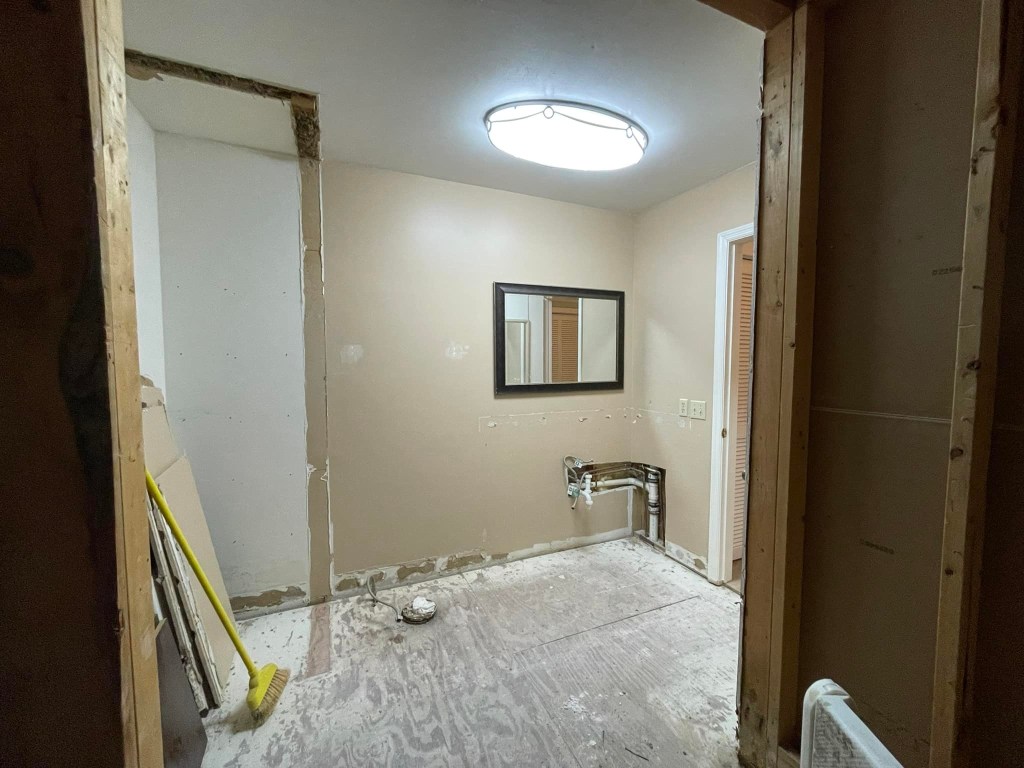
Primary Bathroom Before Remodel


Lipstick on a Pig
Although dated, the pictures above do not reflect the real problems of this bathroom space. As you will see shortly, whoever remodeled this bathroom either did not care or had absolutely no idea what they were doing. Bad construction can be hidden, but once a space is actually lived in daily, there are clues:
- The shower faucet was not properly attached and would simply fall off, which is not fun for any toes that might be in its path.
- The shower pan was not sloped correctly, so water would sit in puddles and did not drain properly.
- The vanity sink leaked.

The following problems were found after we opened the floors and walls:
- The sink plumbing was actually going up, when it should be sloped down for proper drainage.
- Under the brown tiles, was the original 1984 floor and shower tiles.
- There was no waterproofing on the shower walls or shower curb.
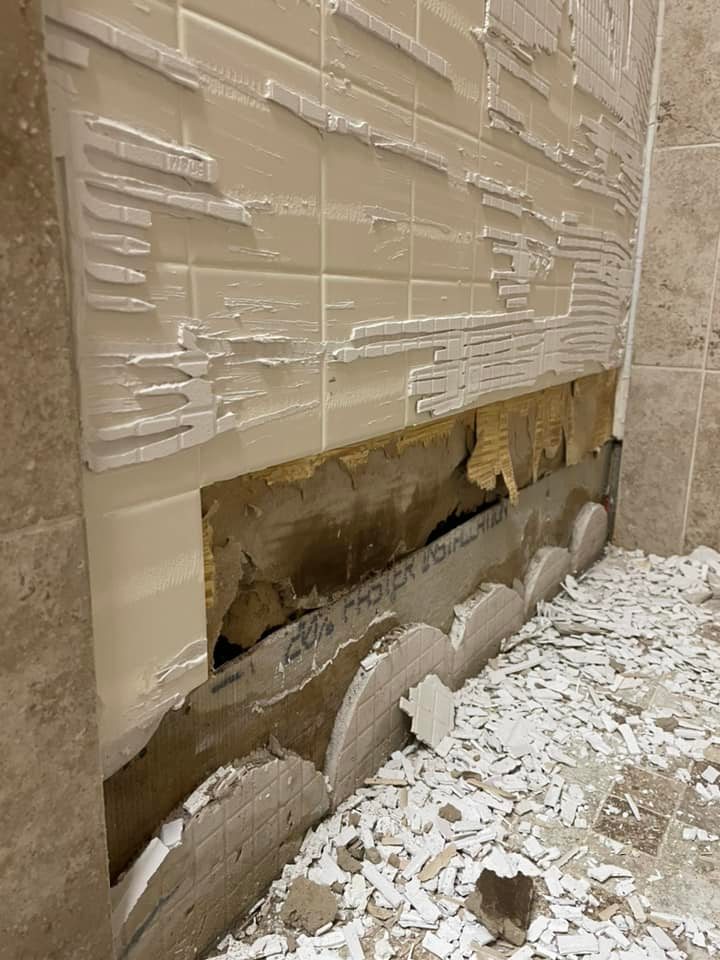
As you can see from the above photo, they cut away the bottom layers of original shower tiles and just used mortar to install the new tiles on top. We suspect the bottom tiles were compromised and instead of adding concrete board or taking out all the tile, they just filled in the gap with extra mortar. No water proofing was done on the shower walls.
As you can see from the above photo on the right, the plywood on the shower floor was completely soaked and had to be replaced. Although they added a orange waterproof membrane, it did not help because the shower curb and walls were never waterproofed. Luckily, this home was a second home, and the shower was not used daily. One of the neighbors, remodeled her bathroom and had to replace the shower subfloor and floor joists in the bathroom because of water damage.
Debris Removal

We used a Bagster dumpster from Home Depot for all our debris, including tile, wire mesh, drywall, vanity, etc. Be sure to read the Bagster instructions carefully, which includes a weight limit and that heavy items like tiles be placed at the bottom of the bag. The primary bathroom is on the second floor, so carrying all this debris down a flight of stairs and down the front deck was quite the leg work-out. We carried items in our arms, plastic bins, and stacked tile on a dolly to get it all into the Bagster. Once we called, it took about a week before Waste Management came to pick up the Bagster.
Plumbing
If you are willing to read and watch Youtube videos, it is possible to do your own plumbing work. But plumbing is not easy or simple. You will need math skills, as well as specialized tools and a lot of patience. You will want to learn about copper pipe soldering, proper slope for drainage, and completing a pressure test before closing your walls or floors.
DIY Tips
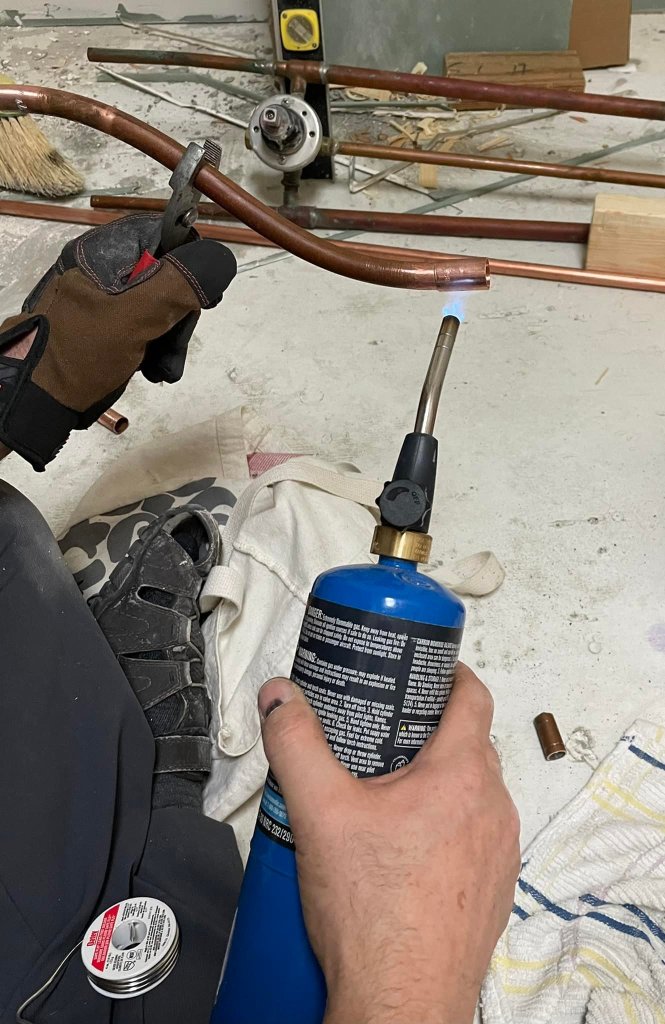
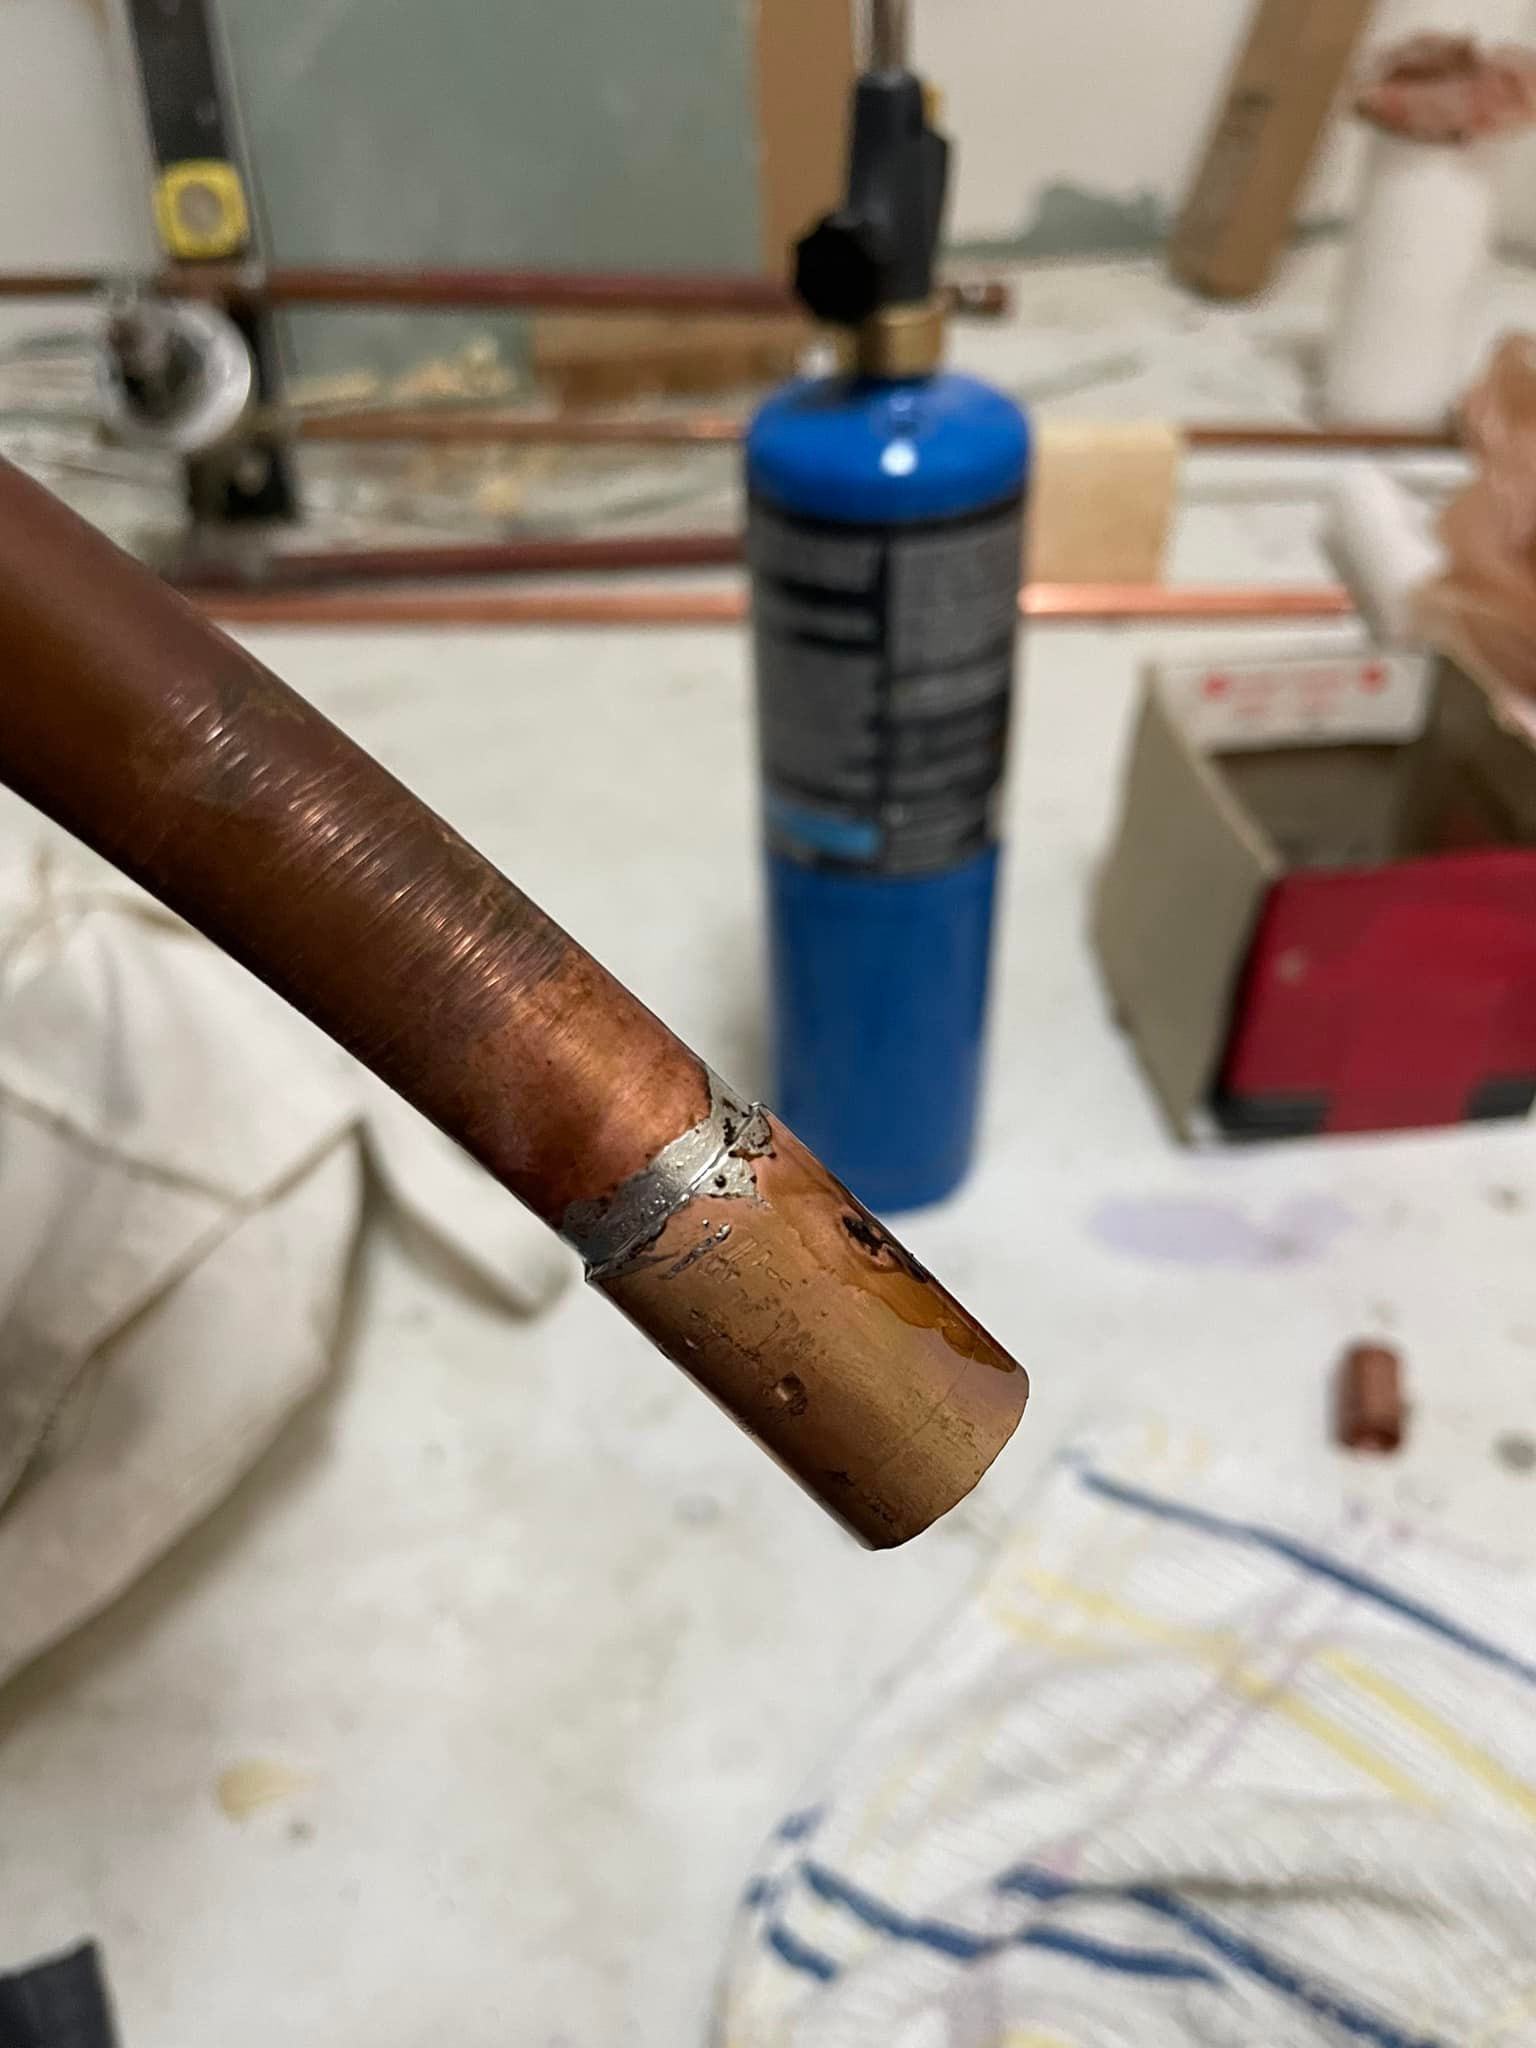
My husband, Jim is handy, smart, and is willing to learn new skills, which meant tackling the plumbing for this bathroom remodel would be possible. In the picture below, you see him heating the copper pipe and a fitting, which requires soldering to ensure it is leakproof.

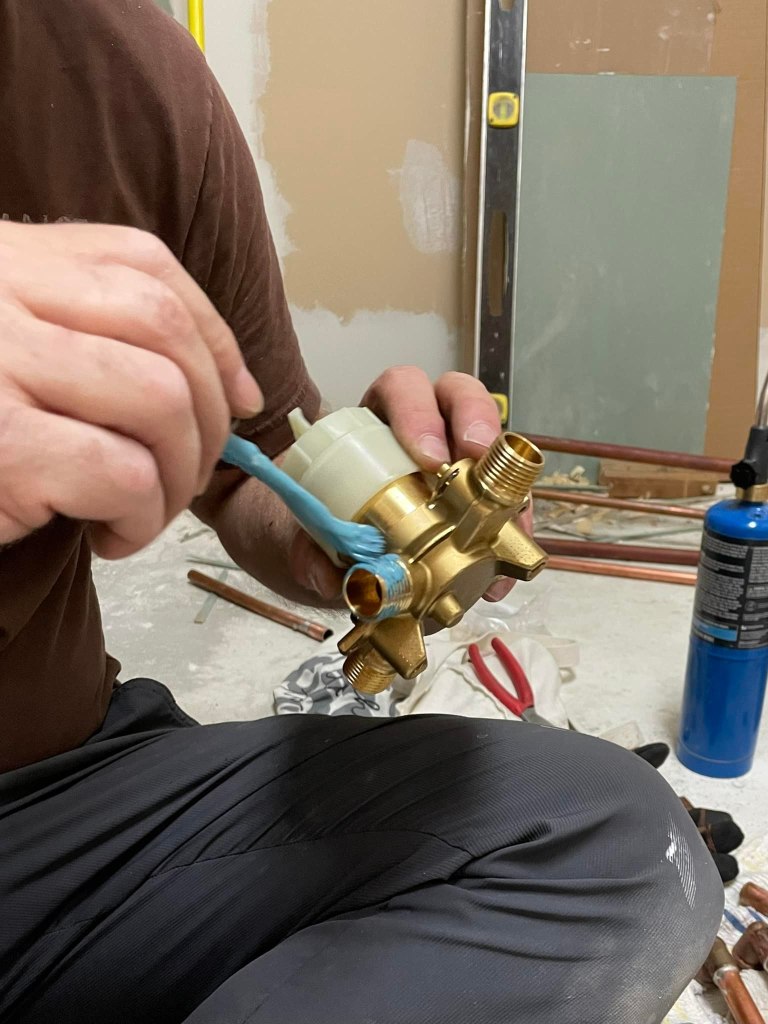
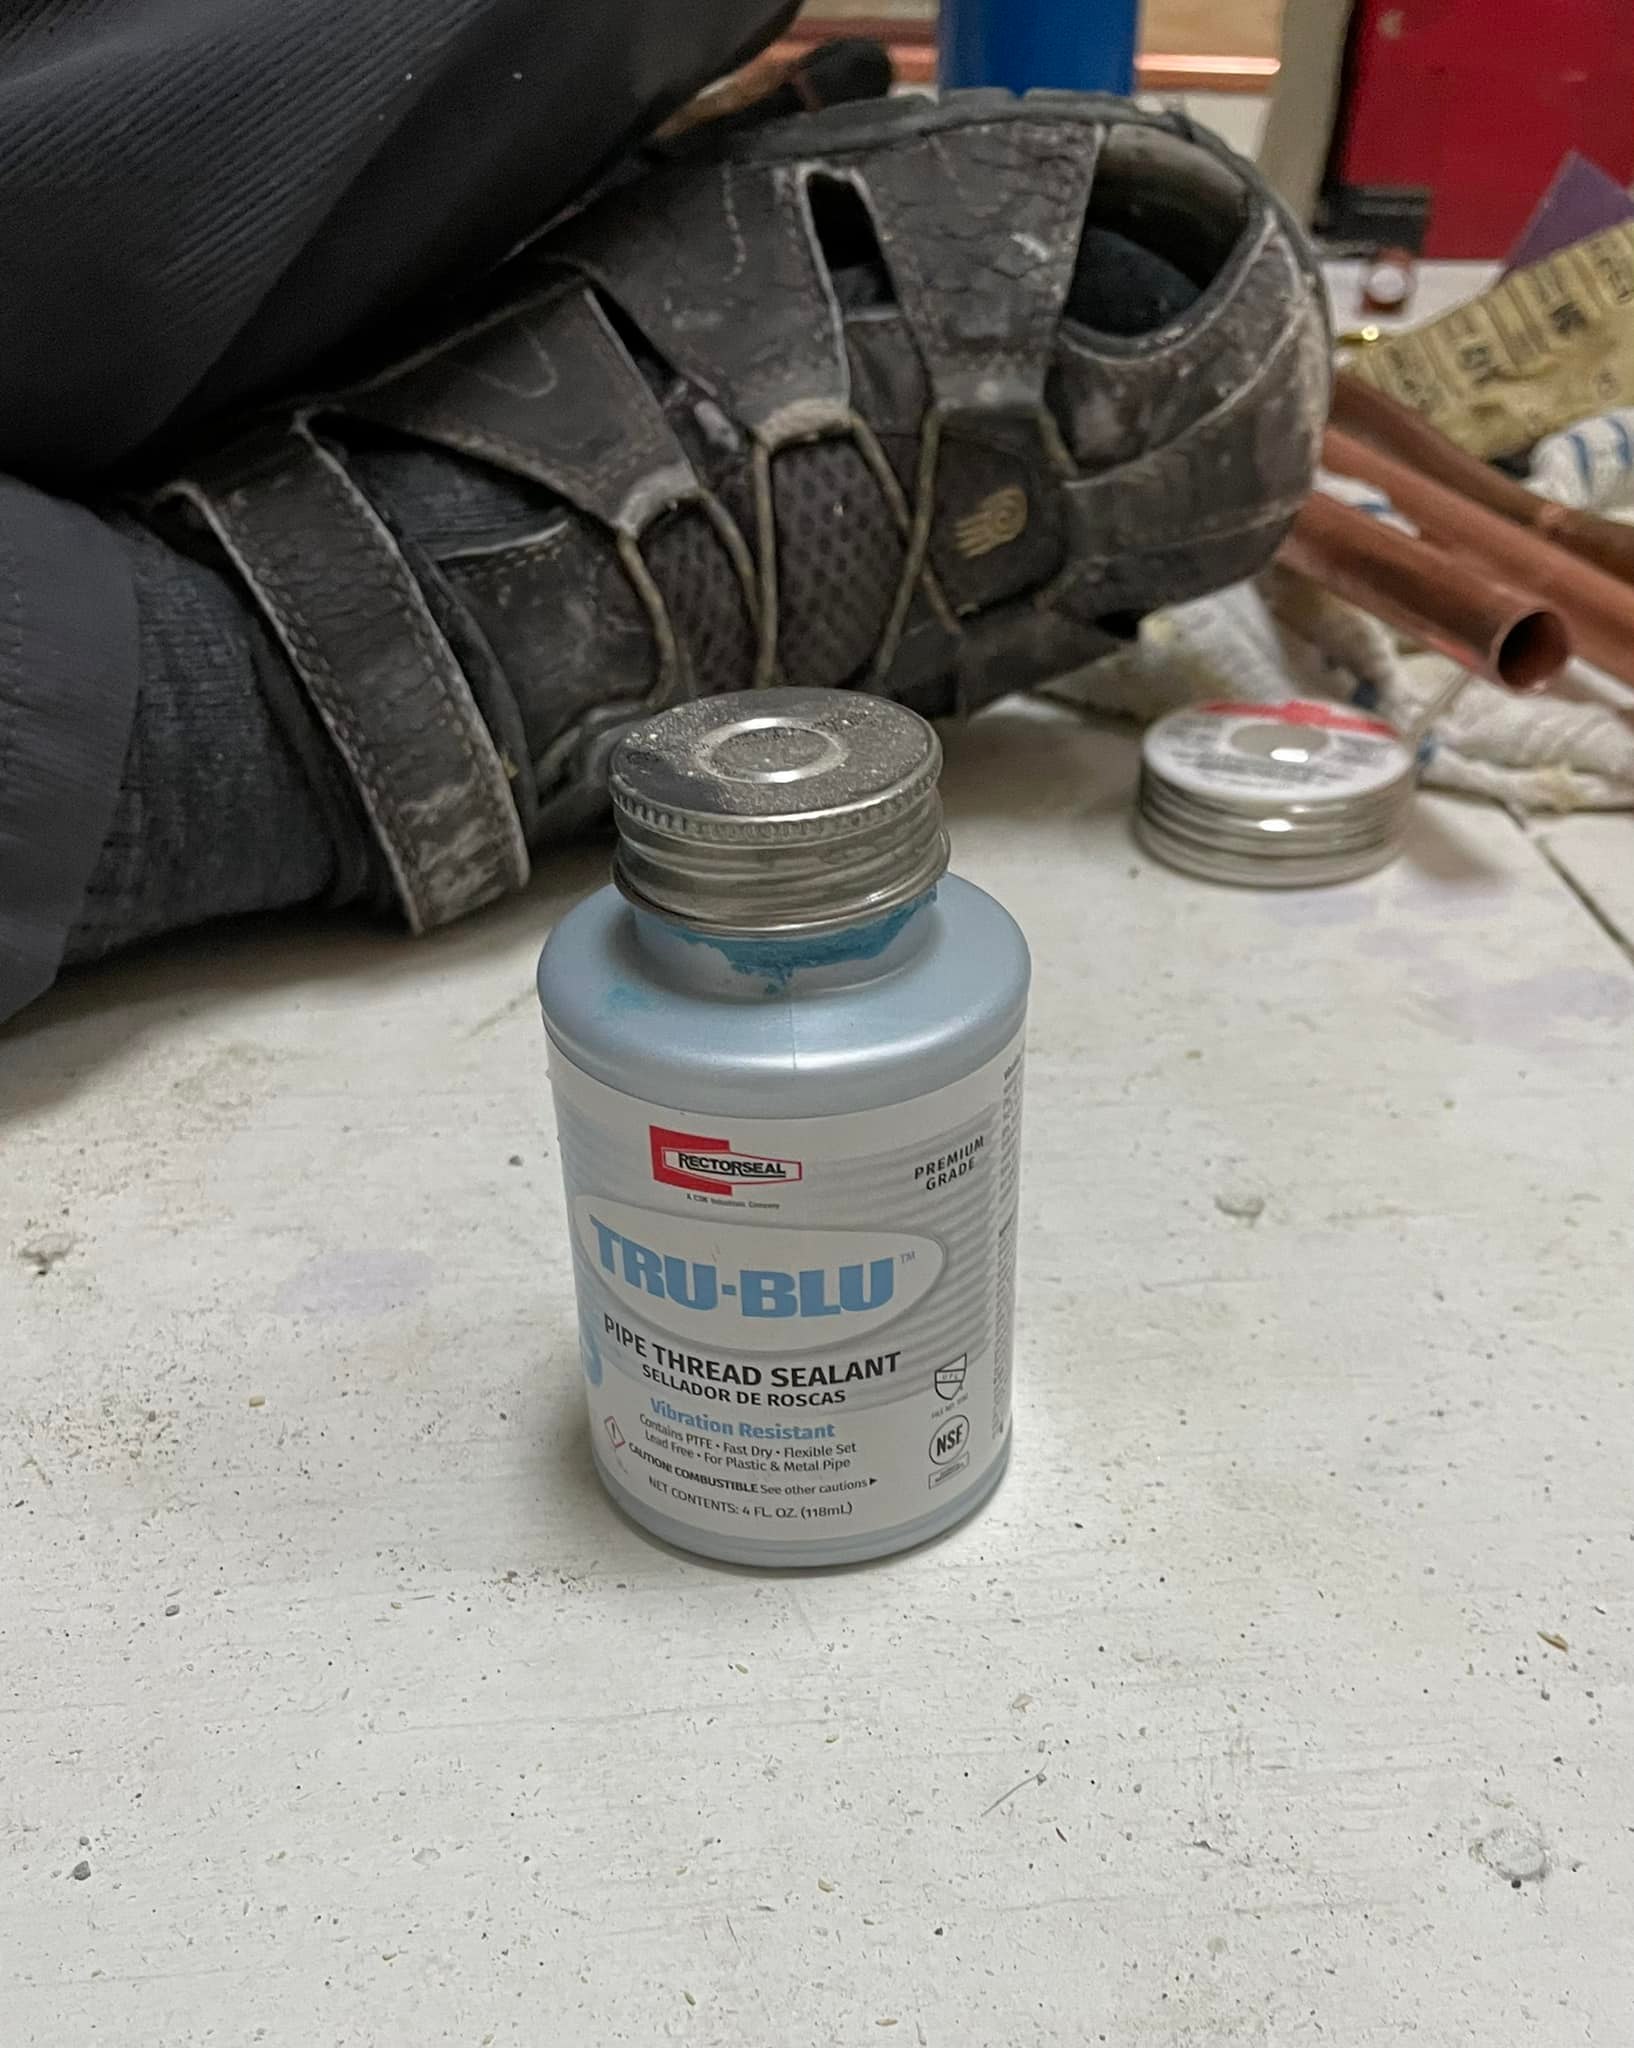
In addition to soldering fittings, you will probably need to secure thread fittings, which requires a sealant to ensure they are leakproof.
Below are some of the tools you will need, which include:
- Soldering Torch
- Nonlead Soldering Material
- Pipe Cleaning Tool and Sandpaper
- Pipe Cutters for copper and PVC
- PVC Glue and Thread Sealant
- Gloves and Safety Glasses

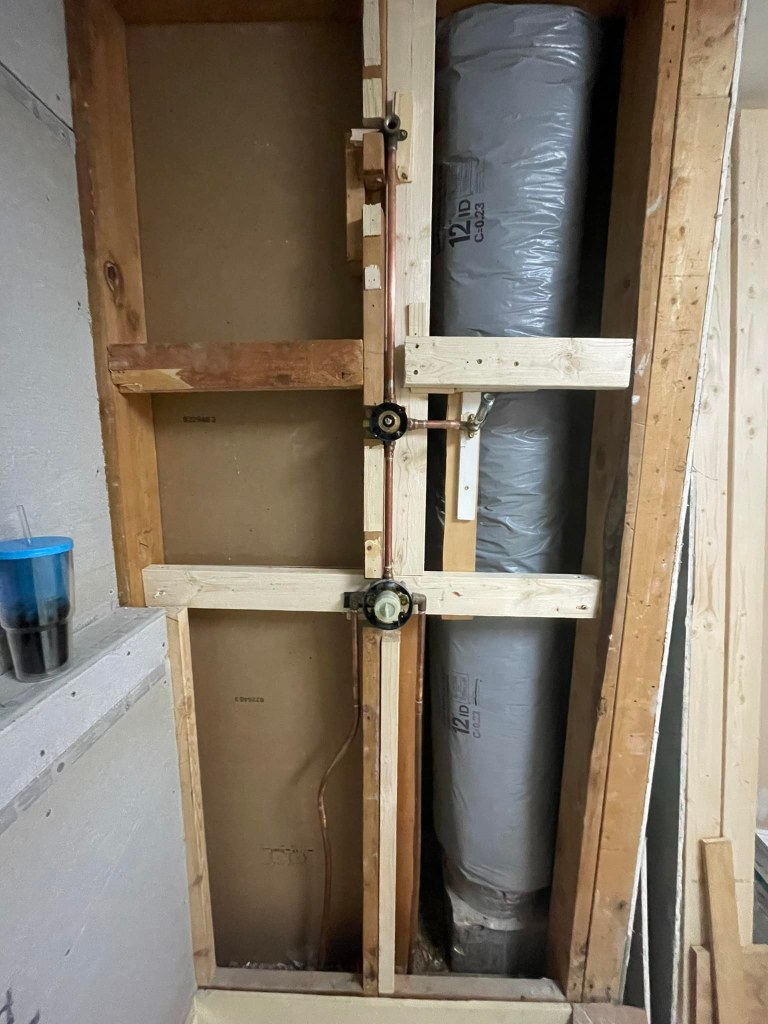
In the first picture below, you see the shower plumbing, which includes the hot and cold copper pipes, the internal shower control, hand-held shower wand diverter/piping, and copper piping to shower head. In addition to the shower, Jim had to move the plumbing for the toilet and double sinks. You will see the water supply for the toilet in the second picture below.

Jim had to reconfigure the drainage and PVC piping for the shower, toilet, and double vanity, which is shown in the picture below. You can see the toilet drain at the top of the picture, the shower drain is in the middle, and the sink drain is at the bottom. All these pipes tied into the main drainage pipe for the house. The cap is off and sitting by Jim’s foot.
Pro Tip
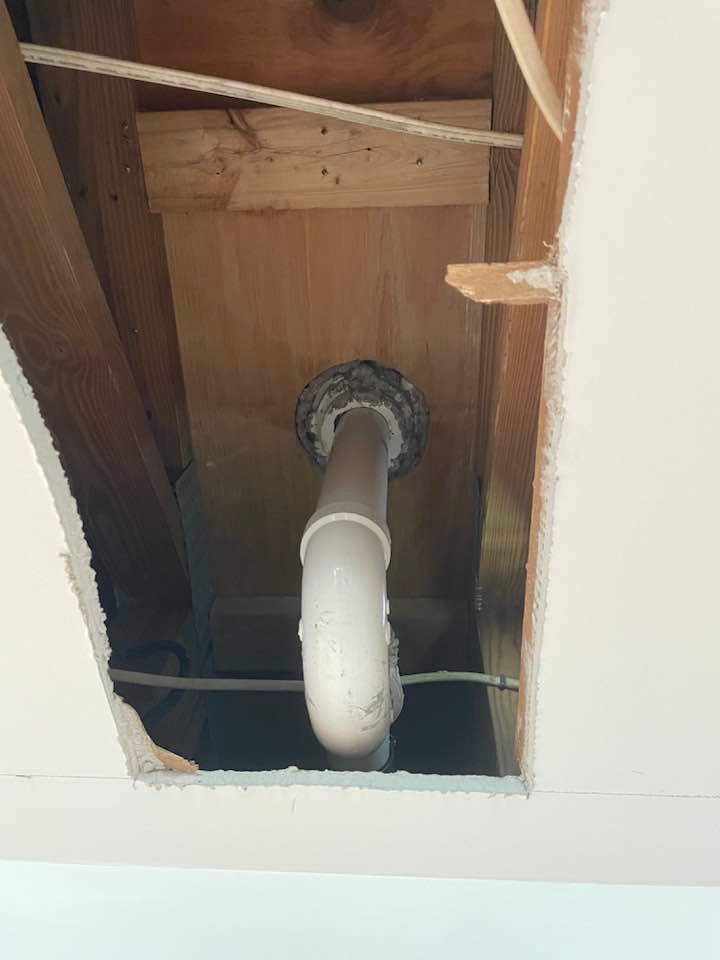
Be sure to wait until your shower curb is installed before finishing the shower drain hook-up. Jim opened the ceiling below to hook up the shower because the one-piece shower curb gets imbedded in mortar and would make it almost impossible to move once installation is started. See second photo in slideshow below for view of shower drain.

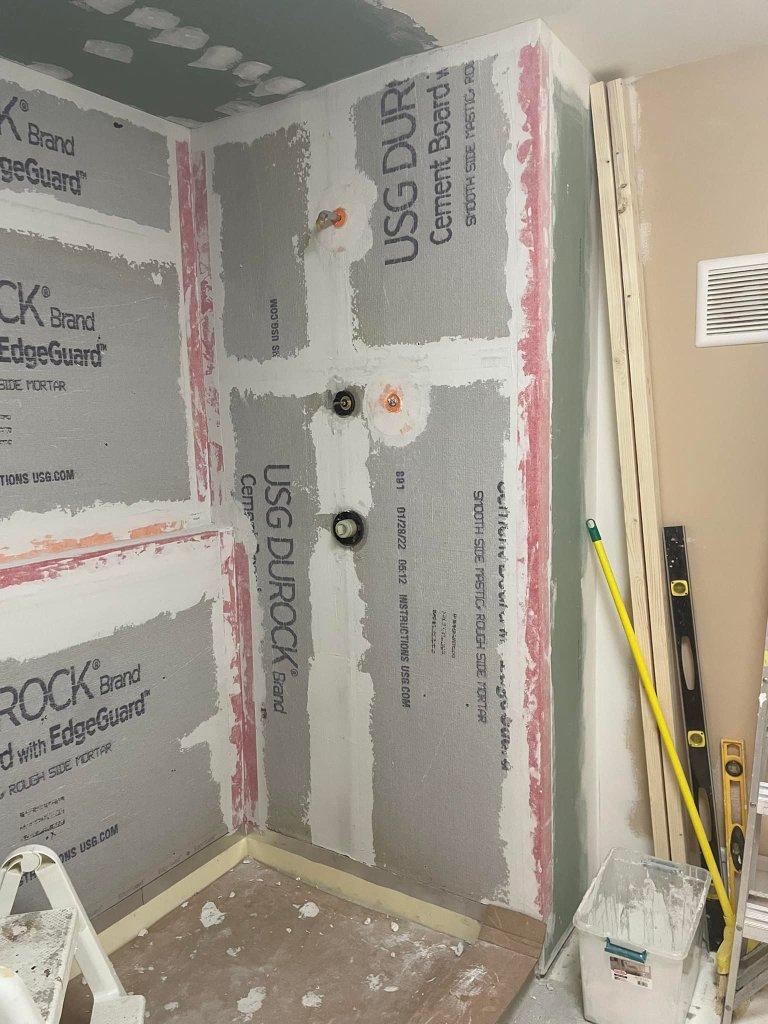
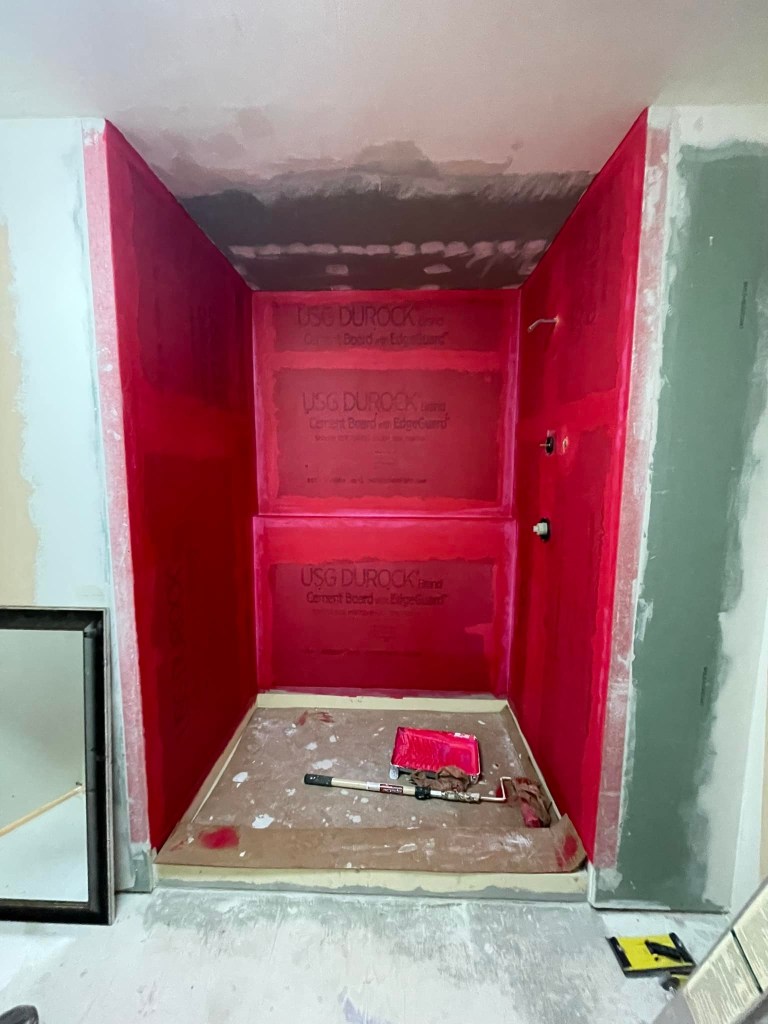
Waterproofing
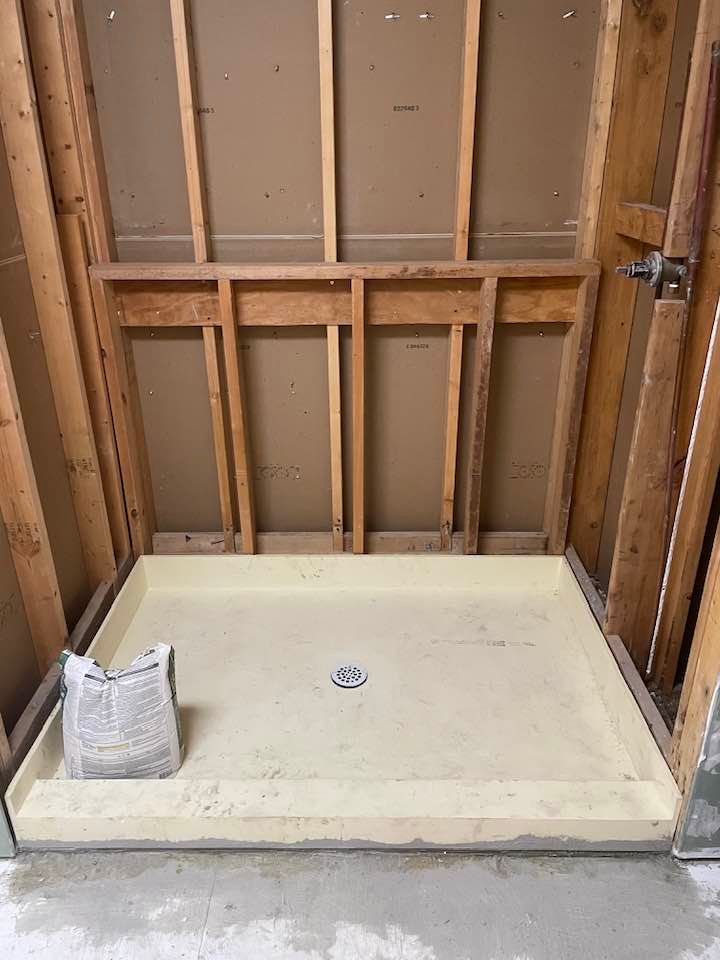
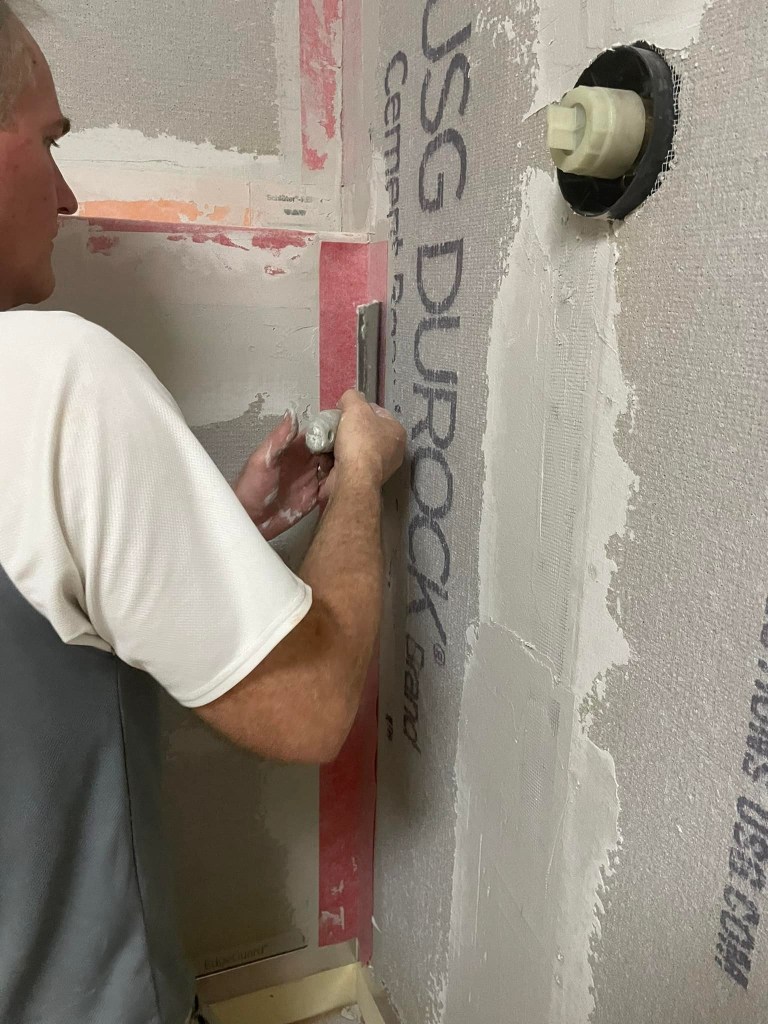
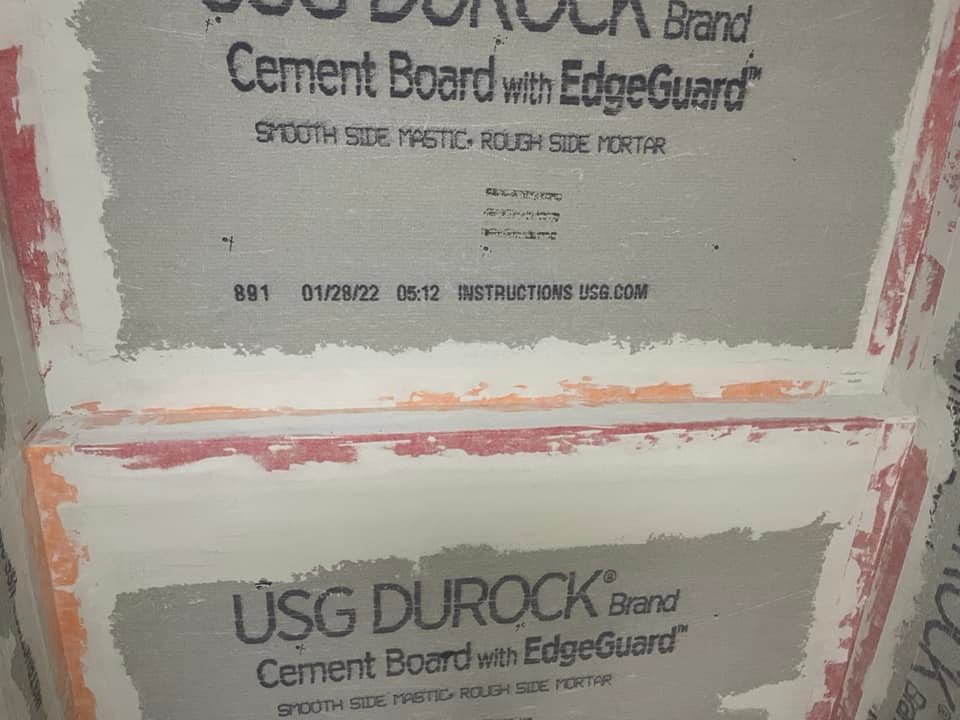
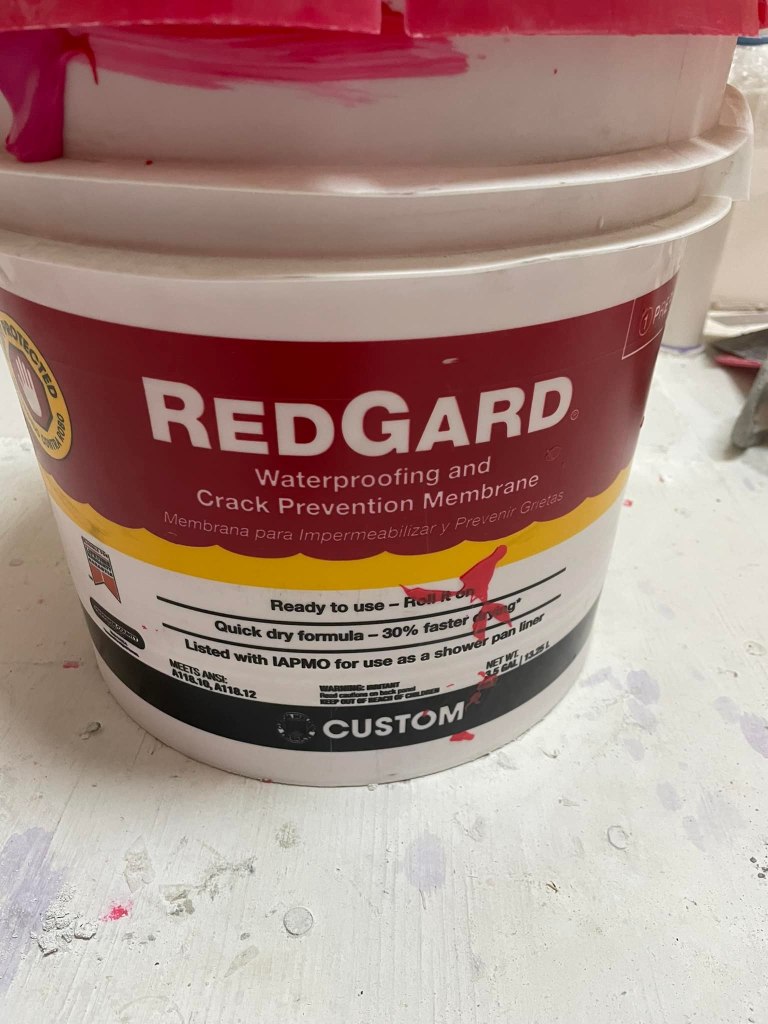
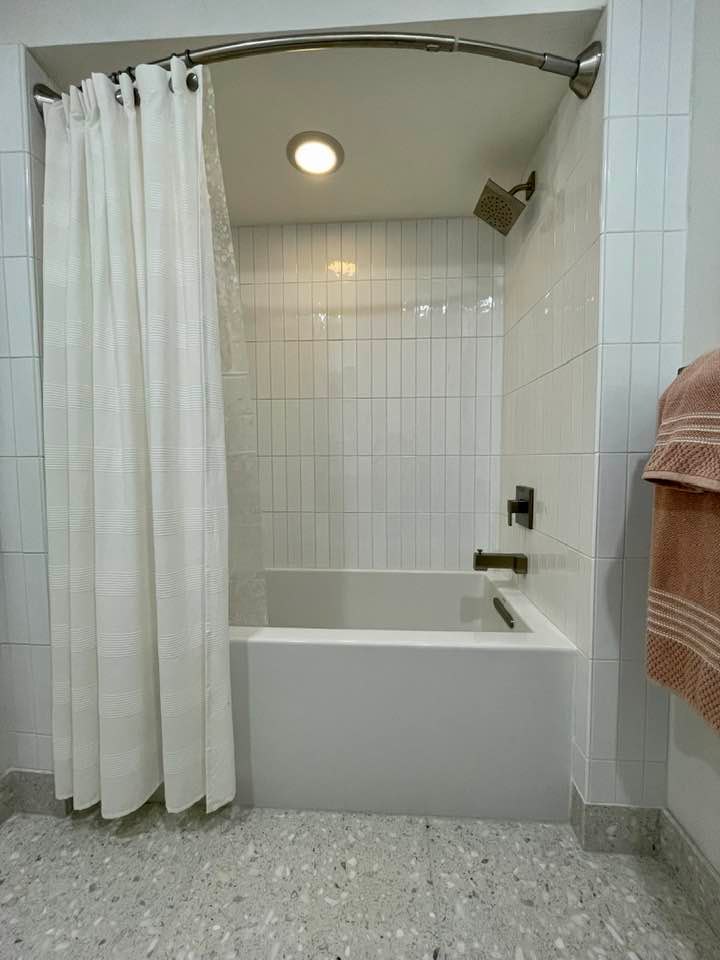
There are a number of ways to waterproof, but we are using a molded shower pan and flashing, Durock cement board, Kerdi water-proofing strip, and Redgard waterproofing for all the walls. The waterproof shower pan will ensure proper drainage as long as you adjust it and level it before the mortar sets. Then we installed the flashing and Durock cement board. We used Kerdi water-proofing strips in the corners and on the shower ledge. Finally, we completed the waterproofing with two coats of Redgard, which is also great to prevent cracking of grout and tiles.


We are using Terrazzo and Habitat tiles stacked vertically in the primary bathroom. To learn more about the Habitat tile and Veronese Terrazzo tiles visit https://majesticmeadows.blog/2021/06/25/function-before-beauty/
Thank you for visiting my site. If you found this post helpful, please like and share it with a friend. Stay tuned to see the primary bathroom reveal by subscribing below:

1 thought on “What Lurks Beneath – Bad Remodel”